NEW TO THE SHOP - HALLOWEEN TREAT HOLDER SVGs

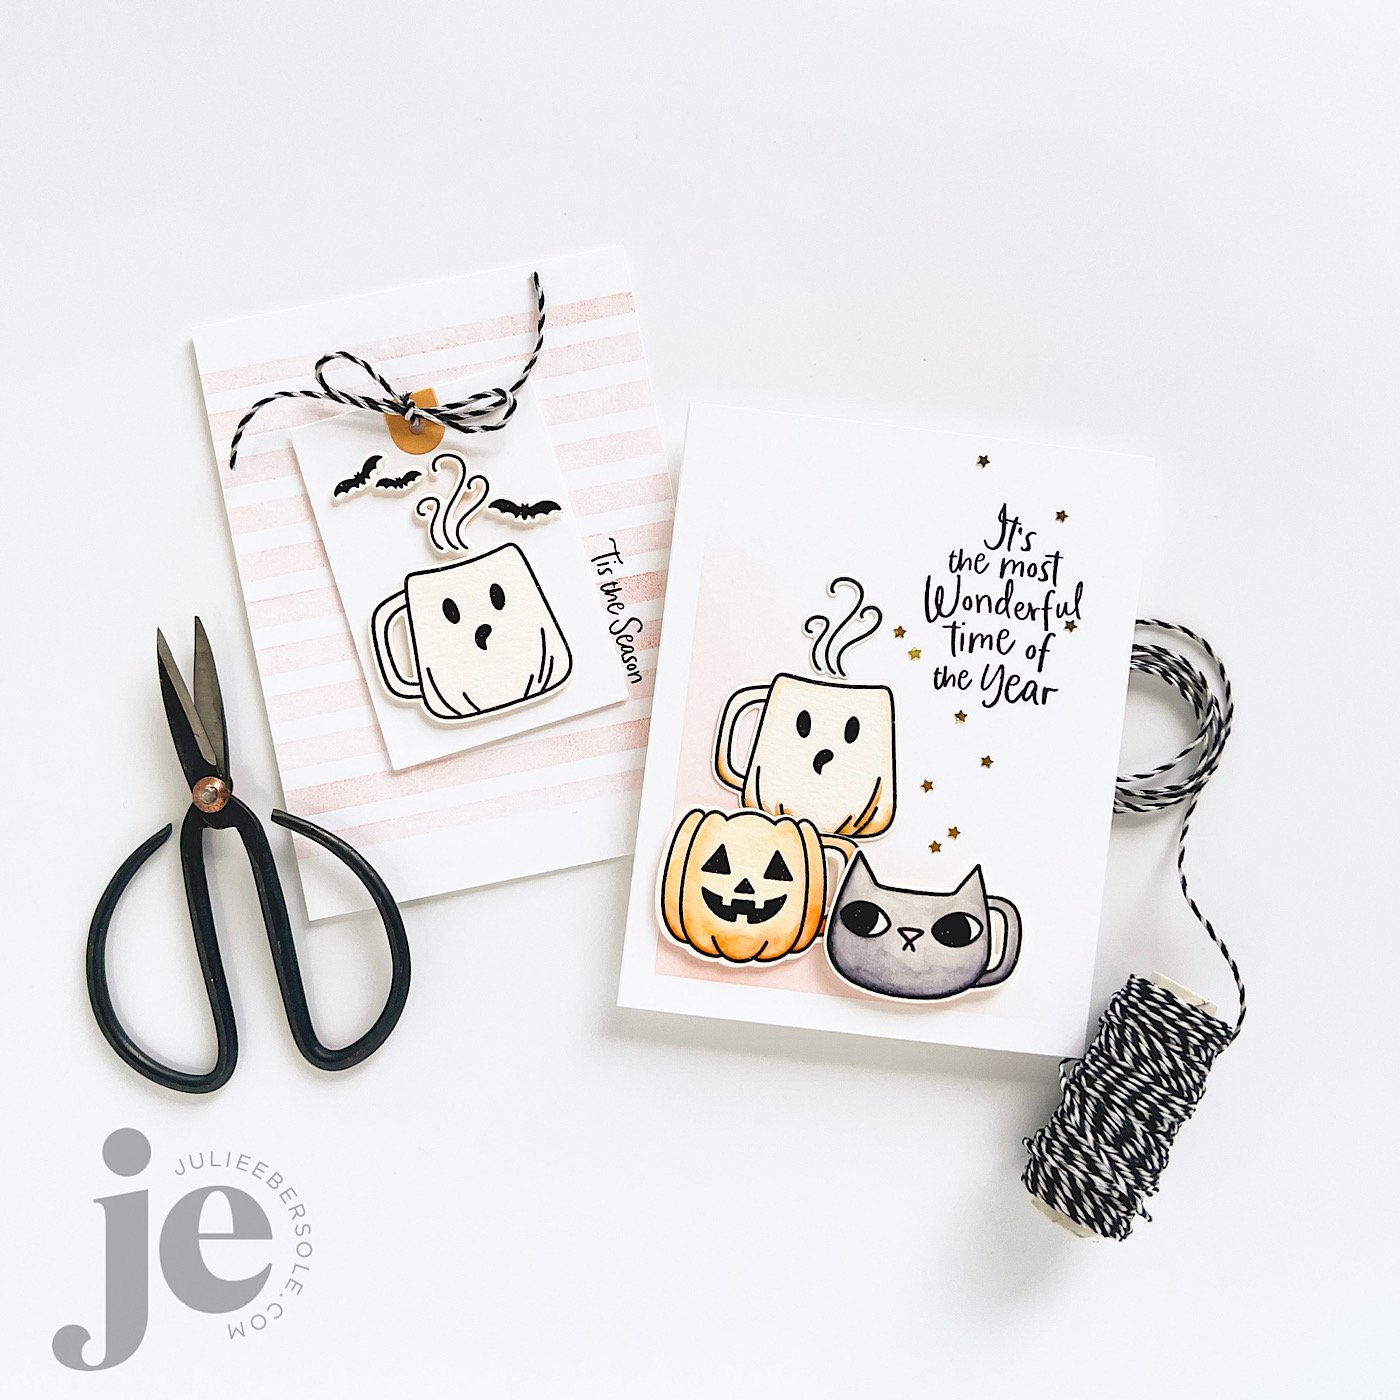
Just a heads' up if you loooooove Halloween like my house does!

I've added some new digital cut files to the shop for making Halloween Treat Holders/boxes--I call ‘em holders because they aren’t “lidded”. They're available individually, in case you have a favorite, or you can get all 5 designs in a bundle, for extra savings!

↑ click the photo to visit the link

They're so stinkin' cute and make me smile! Originally, I was just going to make a ghost, 👻 and then the creative juices took over, after some excited pleading by my daughter (age 33) for more, which included her batting her eyelashes at me, LOL! Anyhoo, I know my youngest granddaughter will be thrilled with the ghost, and my oldest will be giddy over the witch. Hah!

Individual designs linked below:

You are probably already so experienced you don't need it, but I did upload a quick “How to assemble” video HERE--the bases all assemble the same and you can easily follow how to layer the pieces by looking at the photo of the finished design.

I love adding those crinkle paper shreds to these things--I even found some in black at a big box craft store (rare excursion off the island)--fist pump! But what else would I stuff these goody boxes with? Well, here's a handy starter list of ideas:

For the li'l boos:

  • Snack size candies or mini/fun size candy bars--individually wrapped RICE KRISPY TREATS!

  • Fruit Gummies/Snacks

  • Cookies

  • Stickers

  • Fun shaped erasers and/or pencils with fun Halloween toppers

  • Glow sticks or bracelets

  • Mini Play Dough or “slime”

  • Halloween Pez Dispensers (with refills, of course, LOL!)

For growed up ghouls:

  • Gift card (I don't know anybody that wouldn't love finding a gift card for a fancy coffee inside one of these)

  • Lip Balm (did you know Burt's Bees makes a limited edition “Burt's Boos” set of 3 flavors??? Their standard peppermint + Chai Tea and Pumpkin Spice!!!)

  • Pocket hand-sanitizer or lotion

  • Tazo Pumpkin Spice Chai Tea Bag + honey sticks

  • White chocolate covered pretzels (sweet & salty is always a big hit)

  • Snack size peanuts or smokehouse almonds

You get the idea--thankfully, snack and mini size treats abound even at your grocery store, making it easy and fun for you to treat the tricksters in your life!

Have a creative day!

IS A CRICUT RIGHT FOR YOU?

This post and photos may contain Amazon and/or other affiliate links. If you purchase something through any of these links, I may receive a small kick-back at no extra charge to you. I have purchased all supplies/tools/machines mentioned out of my own pocket.


Truth: I absolutely LOVE my Cricut Maker. Waaaaay back when the original Cricut digital die cutter was introduced, I will admit my reaction was luke warm. Because cartridges. 🙁 I had (still have) an aversion to spending $50-70+ (?) on a collection of 100 or 200 designs, and then discovering I really only like, and will actually use, maybe 10 of them. 🙅🏻‍♀️

Fast forward to 2020. On the one hand, I regret waiting so long, and on the other, waiting through the advancements in technology with these machines has led to VAST improvements! After owning a number of other digital die cutting machines (and, yes, I admit I was also influenced by a friend who raved about hers!), I decided it was time to try the Maker out.

Shortcuts to the content in this article:

My current storage system for the machine, accessories and vinyl.

WHAT IS A CRICUT? (Pronounced “cricket”, not “cry-cut”)

A Cricut is a digital cutting machine, also known as a “plotter”. It is available in various models from the Maker (the big sister), the Explore/Explore Air 2 (middle child) and the Joy (baby/uber portable).

WHAT CAN IT CUT?

  • The Joy can cut over 50 different materials, that include precut/scored cards, 80# card stock, sticker paper, vinyl, etc. Designed for smaller projects and lighter weight materials, its small, compact form and weight make it perfect for crafting on the go/while traveling. It can also draw and foil with accessory pens/markers and tips designed specifically for the little power-house.

  • The Explore Air 2/Explore 3 is capable of cutting over 100 lightweight materials, like card stock, poster board, vinyl and craft foam sheets, etc. It can also draw/write with accessory pens/markers, apply foil, score paper as well as cut bonded fabric.

  • The Maker/Maker 3 can cut everything the Explore Air 2/Explore 3 does, PLUS it can also cut balsa wood, leather, matboard—over 300 different materials.

    The key difference between the Maker and the Explore models being that the Maker has the most horse power, and with its unique Adaptive System, makes use of a variety of rotary style blades for certain applications and Quick-swap housings for even greater convenience and capabilities.

To compare the most recent models in extensive detail, click HERE.

Sidebar: Since I bought my machine, Cricut has released the next generation versions, the Maker 3 and the Explore 3; these are designed to work with Smart Materials and when using them, can cut at accelerated speeds.

WHAT SOFTWARE DOES IT USE?

Cricut machines come with their own FREE software; Design Space is their full-featured, cloud-based desktop software, available for Mac and Windows. Also available for free are the Cricut Joy app, and Design Space Apps for both iOS devices and Android.

Using the software, you can upload SVGs (Scalable Vector Graphics), also known as cutting files, and use them to cut various types of designs from greeting cards, gift boxes and 3D type items. In conjunction with your home printer, you can also print PNG (Portable Network Graphic) designs and then cut them out with your Cricut machine, a feature known as “Print Then Cut”; yes—as in you can make your own die cut stickers!!! I’m hoping to do an article in the future on that, once I’ve tested some sticker materials out, but if you want to learn right away, there are TONS of tutorials on YouTube for making DIY stickers with your Cricut.

IS THE SOFTWARE HARD TO LEARN?

There’s always a bit of a learning curve with anything new, no matter what it is! That said, the Design Space software is actually very easy to use; below I have a video showing the basics of uploading an SVG file and preparing it for cutting:

WHERE CAN I GET DESIGNS OR CUTTING FILES?

Cricut offers a subscription to their design library, called Cricut Access. The monthly fee is about $10USD for access to thousands of designs. Additional fees are charged, on top of the monthly Access subscription, to use licensed items, i.e. Disney. Access designs cannot be downloaded to your computer. Basically, it’s like a rental system; if you discontinue your Access subscription, you will no longer be able to use those particular designs. You can also choose to purchase individual files as you go, without a subscription to Access, but you will not be able to download them permanently onto your computer or a separate drive; they will simply be permanently available in your Cricut Library.

You can also purchase designs and SVG cut files from a wide variety of places, such as Etsy, Silhouette’s Design Store, and independent digital design shops, such as mine. My shop is new and my inventory small at this point, but I plan to grow it.

When you purchase a digital design or receive it as a “freebie”, you do not own the artwork itself; you are granted a license with terms of use, which you should always read and keep somewhere for reference later on. Some licenses allow personal use only, and others allow commercial use under certain situations or with stipulations. Any legitimate designer will include a license that explains their terms of use for their files and these will vary from one designer to the next.

When you sign up for my shop mailing list, you will receive a coupon to get the Good Vibes Only Card SVG file shown in the video for FREE.

WHO IS A CRICUT FOR?

A Cricut machine is not a cheap investment so I cannot recommend one for the occasional/rare crafter.

However, if crafting is your hobby, something you enjoy on a regular and steady basis, OR you run a small handmade business, I think it’s an excellent investment! These machines are amazing and will enable you to make all kinds of things from greeting cards to personalized garments/wearables, party and home decor!

WHERE CAN I GET A CRICUT AND WHERE ARE THE BEST DEALS?

You can buy one on Cricut’s website, HERE. And, when they are running a sale, it’s often a really good one. As of this writing, they are currently running a limited time sale this week through 09/24/2022, as well as offering FREE shipping & handling on orders of $99 with code SEPSHIP , making it a great time to dive in for yourself, or as a gift for a crafty loved one! When I purchased the Maker, I also purchased an Explore Air 2 for my daughter and my son’s girlfriend as gifts for Christmas; neither are really into stamping, but both enjoy paper crafting and are very creative.

You can also check out my Tools & Supplies page, for deals on accessories, etc. I’ve found on Amazon.

WHAT OTHER BRANDS OF DIGITAL CUTTERS ARE THERE?

Silhouette makes the Portrait, suitable for 8.5 x 11” materials and the Cameo, which is available in 12, 15 and 24” feeds, the Brother Scan N Cut features a 12” feed.

These are all highly capable machines! I’ve owned a Portrait, a Sizzix Eclips (long since discontinued), and a Brother Scan N Cut. There is no “best”; there is only what works best for YOU. I have just come to love working the most with the Cricut Maker and any info I share here will pertain to that machine specifically.

Will I upgrade to the Maker 3 or invest in an Explore 3? I suppose I would if I wanted to work with Smart Materials and the faster speeds associated with that. But, I’m pretty happy with what I have and don’t feel a desire for either of those features.

Questions? Leave them in the comments below!

Hope this article has been helpful!

ESSENTIALS BY ELLEN FALL 2022 RELEASE

Release Page: ESSENTIALS BY ELLEN FALL 2022 RELEASE (affil. link)

Don’t ask me to pick a favorite, because I just can’t; Halloween will always be extra special for me because it’s the Mister’s birthday. 🎃

Be sure to check out all the creative inspo being shared by the EH Ambassadors on the Instagram Hop beginning at the Ellen Hutson LLC Instagram (link), as well as the Release Page. Soooo many ideas!!!

Below is a closer look at some of the sets in action:

feat. BOO’S INSIDE COMBO (affil link)

Kitty mug givin’ the jack mug the side-eye . . . (chuckle) Everything tastes mo’h bettah’ in a holiday mug, am I right?!


feat. FALLISH COMBO | THANK YOU (affil link)

I feel a trip to the pumpkin patch and farmer’s market comin’ on—we’re so lucky to have one nearby on our rural island!


feat. GHOST ANCESTORS COMBO (affil link)

I had to do it. Halloween with a mild, but loving snarky twist. I mean, come on!!! Love me a good belly laugh and ujustgaddoo (you just got to) take advantage of these opportunities. That’s my story, and I’m stickin’ to it. 😉


Don’t go into the woods at night! LOL! And, always go in a group when trick-or-treating; more tricksters = more treats.


feat. PUMPKIN MUG | TINY STARS HOT FOIL STAMP | sentiment from BOO’S INSIDE (affil link)

Not sure it shows up well, but I did a soft ink blend of an apricot and grapefruit pink to get this lovely peachy hue. It’s very subtle but hopefully you can see it—I love that this die has separate jack-o-lantern facial features so you can opt to fill the center with sentiments designed to fit right in there . . . 😉 (yes, deliberate)


My granddaughters absolutely LOVE these little house boxes; I have a Halloween village planned for the mantel. These are so much fun to make I had a hard time stopping and had to slap my hands to make samples with the other goodies in this release, LOL!

Catwalk, anyone?

My goal is always to create 3 samples for each set/product but as I’ve mentioned before, I’m a slow designer and time ran out on me. HOWEVER, you will find yourself immensely inspired by the EH Ambassadors, who I am always honored and thankful to for bringing my designs to life, so please check out the IG hop for more creative, and ingenious ideas for this release!

Thanks for poppin’ in!


SUPPLIES:

ESSENTIALS BY ELLEN FALL 2022 RELEASE

Disclosure: Affiliate links to the products used in my projects, that I like and use may be included; I make a small commission when you purchase via those links, at no extra cost to you. Thank you for all your support!

3 STARRY SKIES IDEAS

Honestly, I am not an outdoorsy girl; the family is always teasing me that I need to “get out of the bubble” more often. Which would probably do wonders for my legs, which could use a lot more sun, LOL!

But, I was feeling the nature themes when illustrating and designing for this particular summer release and remembering how last year, we laid out on an airbed in the backyard and gazed up at the night sky, watching the Perseids shoot by . . . Yeah, for real.

Our house is surrounded by very tall evergreen trees, and there are no street lamps in our neighborhood, making it a perfect setting. I used my trusty Speedball brayer to create the sky background, using some dye inks by Concord & 9th (Grapefruit, Stardust ) and Catherine Pooler (Juniper Mist)

TIPS

  • When loading your brayer with ink, always roll and lift, roll and lift (continuous motion), to make sure you get the brayer inked all the way around. Make sure to place scratch paper underneath or you’ll end up with ink all over your work surface. Ask me how I know . . . (face palm)

  • Using the same method of rolling and lifting begin to brayer with your lightest color first, start off the project and roll onto the paper surface, to avoid odd marks to the paper; continue until the brayer goes completely across and off project, onto the scratch paper. If you don’t, you won’t get complete edge-to-edge coverage. Of course, if you don’t want edge-to-edge coverage, disregard.

  • Any excess ink on the brayer can be rolled off onto the scratch paper and then you can load with the next color. You probably won’t need to wash the brayer off until you’re completely done with the last, and darkest, ink color. Less clean-up. Sweet!

  • Want to heat emboss over the top? Well, you can let it sit for a while, OR, if you’re like me (impatient), use your heat gun to “dry” the surface, then pounce it with an anti-static pouch to neutralize any moisture, like oil or lotion from your hands.

  • Blow off or use a soft brush to flick away any excess anti-static powder sitting on the paper surface, then stamp and heat emboss. Why? Because if you don’t, as you press your Versamark inked stamp against the paper, it will collect that excess powder with every impression and transfer it to your Versamark pad when you go to ink up your stamp again. As the powder accumulates into your ink pad, it will become less and less sticky; ink pad no worky after a while!

I had a rare flash of brilliance when designing the Through The Trees die, so you could create two different effects. Using one shape makes it appear you’re looking over a row of trees, but cutting it twice and mounting the two opposite each other creates the visual effect of being in a clearing, surrounded completely by trees, looking up through them at the sky. I really, REALLY love that . . .

Before doing all the white heat embossing, I used a blending brush to apply the Juniper Mist ink around the outer edge of a navy blue panel—it draws the eye towards the sentiment in the center there, and gives it a glowing effect, to emphasize it even more. You could also use black ink, but, I didn’t have any that wasn’t permanent/archival and I really didn’t want to ruin a blender brush with permanent black ink. Just sayin’ . . .

When you don’t have the color of card stock you need in your stash, you can make your own.

MORE TIPS

  • Use a blending brush/tool and ink to coat white or short cut your blending by starting with a colored card stock as your base, to get the color you need.

  • Distress Oxide Ink will give the most opaque coloring; I often use that on 110# Neenah or colored card stocks because it’s a lot less work than using dye inks. Just sayin’ . . . A girl with tendinitis in her arm needs all the help she can get!

  • Depending on the look you’re going for, try watercoloring over a panel of watercolor paper, and die cutting from that after it’s completely dry.

DAAAANG!!! If you’ve made it to the end, you’re a trooper and I hope you got at least one tip or idea you can use!

That’s all I got for now. Thanks for poppin’ in!


Disclosure: Affiliate links to the products used in my projects, that I like and use may be included; I make a small commission when you purchase via those links, at no extra cost to you. Thank you for all your support!

MONDO RHODODENDRON

A while back someone asked if I could add our WA state flower, the Rhododendron to the mondo floral series. This set went through many (understatement, OY!) renditions before I landed on this . . . There are about 1,000 species of Rhododendrons. 😳

How in the world are you supposed to choose ONE to translate into a stamp??? The two outside my front door are kinda scraggly looking, but the ones next to my Mother-in-law’s house are ginormous, lush things, with vibrant fuchsia coloring! Her Rhodis make me think of giant floral pom-poms, LOL!

The Gold Finch is also the WA state bird, so it seemed fitting to include her—that flash of yellow is so bright and cheerful!

Clear embossed over black pigment ink , on my favorite Canson XL Watercolor paper and then watercolored with Gansai Tambi before die cutting it out.

I like the effect of the flower itself, repeated as a background to support the focal.

This time, the Rhodi was stamped in a softer pink color, with the Gold Finch mounted over top of it and a hexagon frame cut from gold foil card stock.

If any of you are Washingtonians, I hope this set holds a special place among your stamps! Also, did you know ALL Azaleas are Rhododendrons, but not all Rhododendrons are Azaleas???

I don’t know if that’s a “fun” fact, but it’s a fact . . . ROTFLMBO!

Also, a note of thanks to those of you who left a comment or messaged me via email about my previous post . . . XO∞

You’re the bestest!!!


Disclosure: Affiliate links to the products used in my projects, that I like and use may be included; I make a small commission when you purchase via those links, at no extra cost to you. Thank you for all your support!