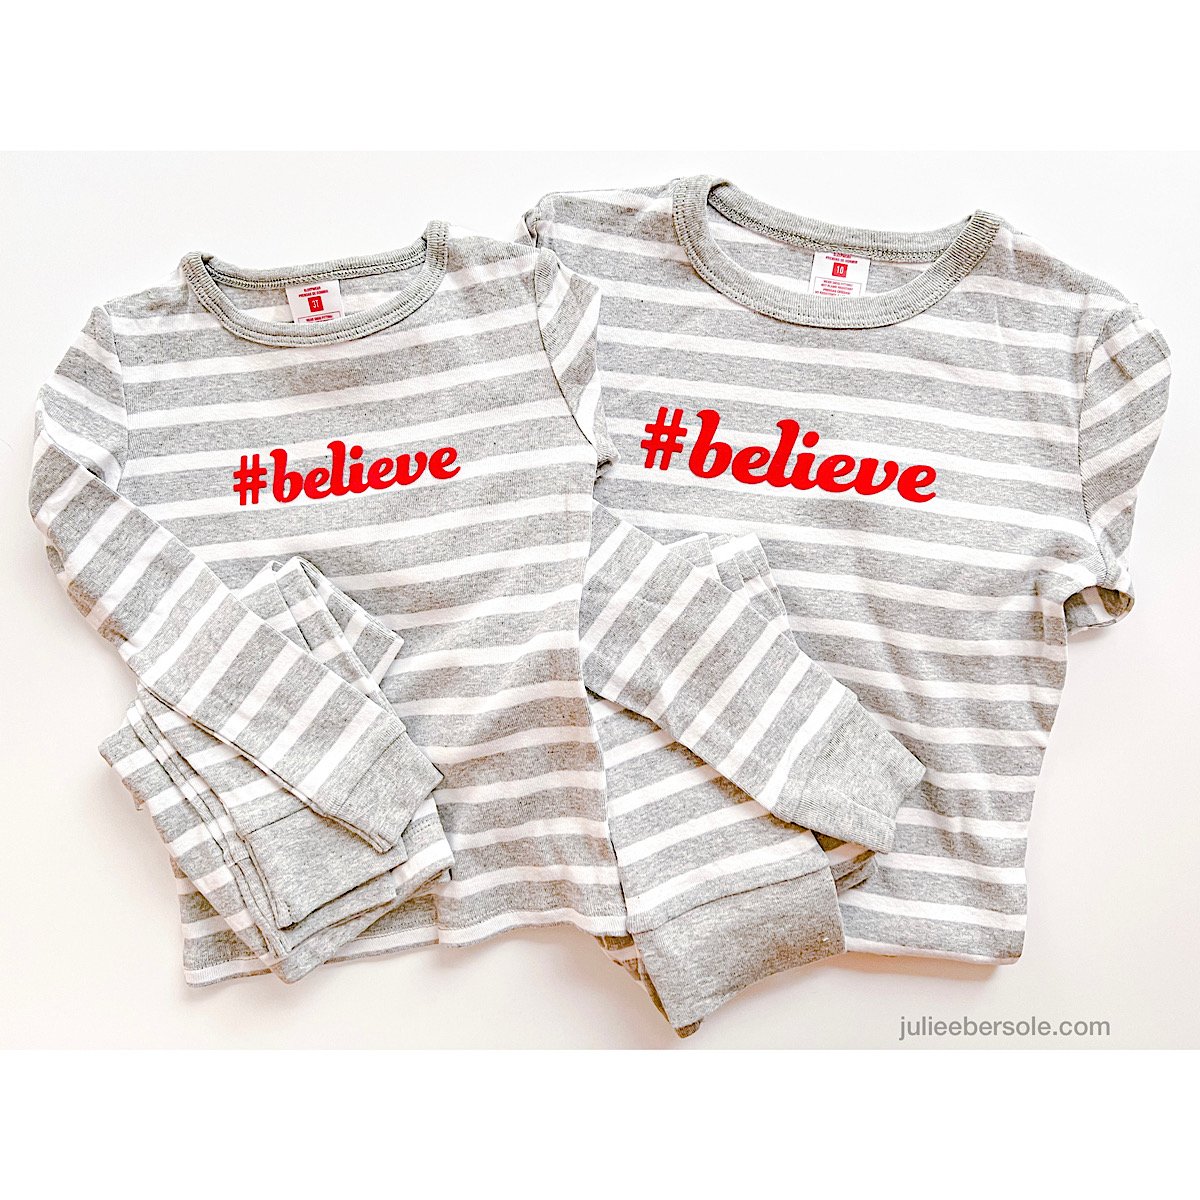
When I found out HTV (a.k.a. Iron-On Vinyl) could be used on PAPER, I was over the moon! Cutting smaller or more intricate pieces with my Cricut Maker from card stock can sometimes be a lesson in futility, despite having a clean, sticky mat, a brand new blade, and all the right settings. Enter Heat Transfer Vinyl. I bought some to use with my Cricut to make cute Tees for my grand-littles and loved how easy it was to work with, so I wanted to try it out on paper for myself.
I’m stoked to share that it is fun, easy and WOW! So far, I’ve only tried holographic and glitter HTVs—specifically Cricut Iron-On brand. Because I had it on hand. I made a few mistakes, and learned some tips I share in the video tutorial below. But, for your future reference, keep the following in mind:
Anything you plan to cut from Iron-on Vinyl/HTV needs to be “mirrored” in Design Space; you’re cutting through the vinyl from the BACK side and if you don’t mirror, words and such will not read correctly when you flip it over.
Select the proper settings, or as close as you can get, in Design Space to the material you’re using; I was cutting through Holographic Iron-On Vinyl for my Lava Lamp Shaker and mistakenly chose just “iron-on” vinyl. It didn’t “kiss cut” properly and I wasn’t able to properly weed the design and had to try again. We all make mistakes and sometimes waste supplies when we are learning something for the first time; it’s OK. Even pros occasionally forget.
Always place iron-on/HTV type materials FACE down onto the cutting mat; I think of it as “pretty” side down, ugly side lookin’ up at ya’.
If the vinyl is curling up on the mat or the mat doesn’t have enough stick-um to hold it down in place (critical), blue painter’s tape will really help! Apply some along all the outer edges to anchor the vinyl into place. It’s important the material does not shift/move during the cutting process.
When working with GLITTER HTV a weeding box will be your best friend! I go over this in the video and you’ll understand when you watch why it’s a great thing! After cutting, you can place the vinyl onto a light table/pad to better see where the cut lines are when weeding; alternatively, if you don’t have a light table/pad, you can tape it to a window where the natural light will help you see those cut lines better. You can also reference the original design visually to help guide you what parts need to be weeded and which should be left on the carrier sheet.
Whatever brand of iron-on vinyl/HTV you are using, read the manufacturer’s recommended heat settings, length of time for pressing and whether or not it’s a warm, cool or cold peel (to remove the carrier sheet). Every product line is different and all that info will vary from one to the next (including the various types of HTV made by each company).
If using a household iron, avoid steam by making sure you’ve emptied the water chamber completely before using. Also avoid the steam vents; they can leave an unwanted impression in some vinyl products.
Enjoy the video—I hope you find it helpful! Still shots of the projects I used HTV on are below the video. I didn’t film using the Glitter HTV, but the process is exactly the same—just remember to select “Glitter Iron-On Vinyl” in your materials setting, instead of Holographic; it makes a difference. 😉
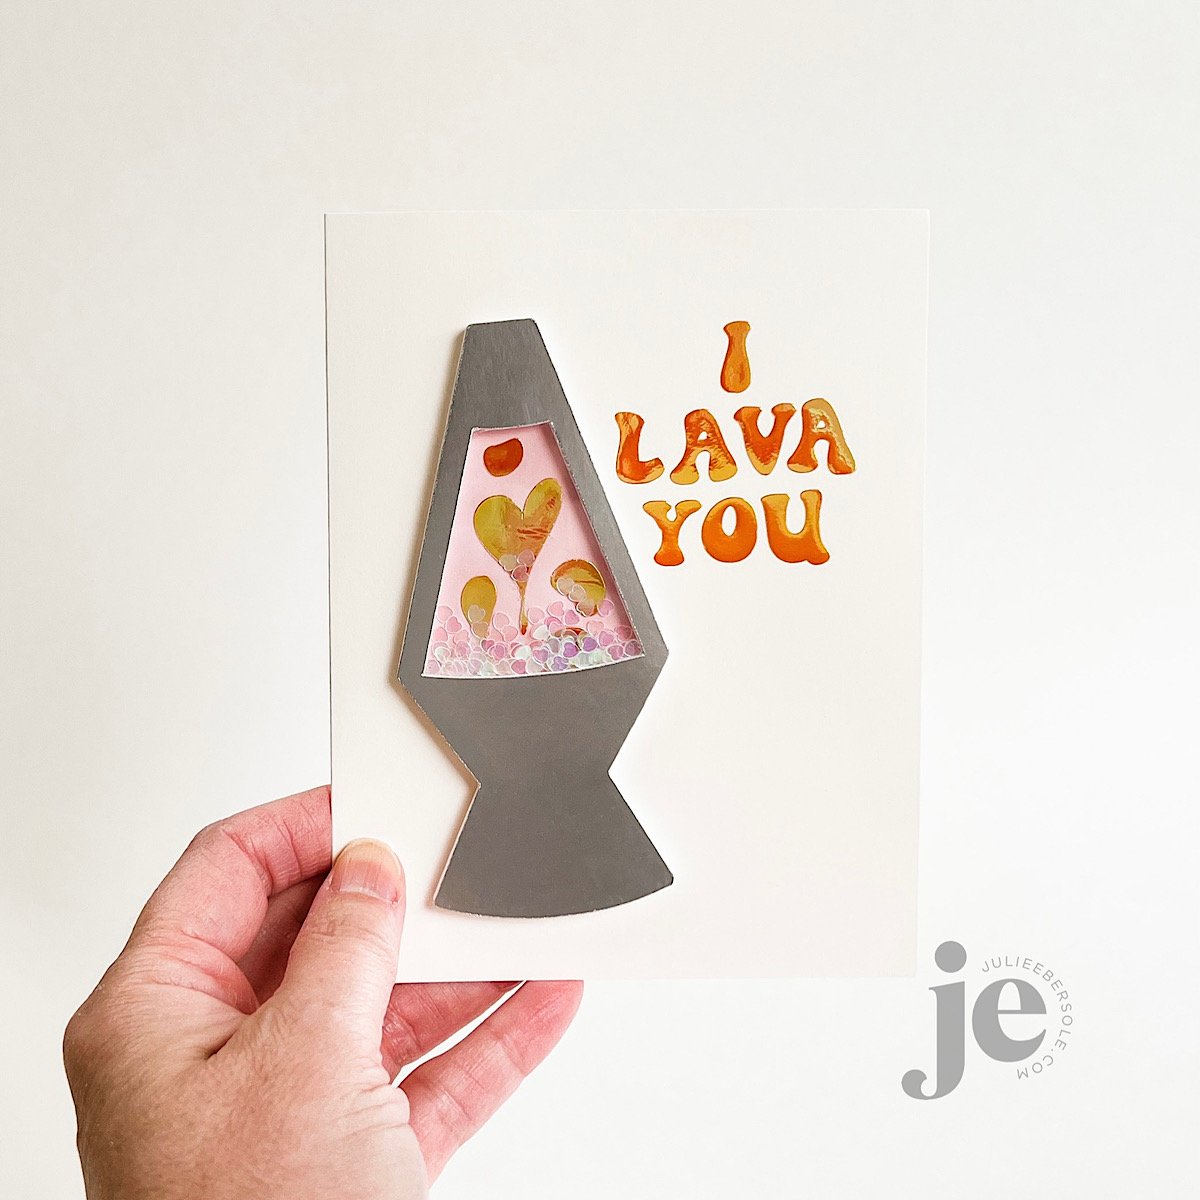
Cricut Holographic "Dahlia" Iron-On Vinyl (affil) used on the Lava Lamp Shaker:
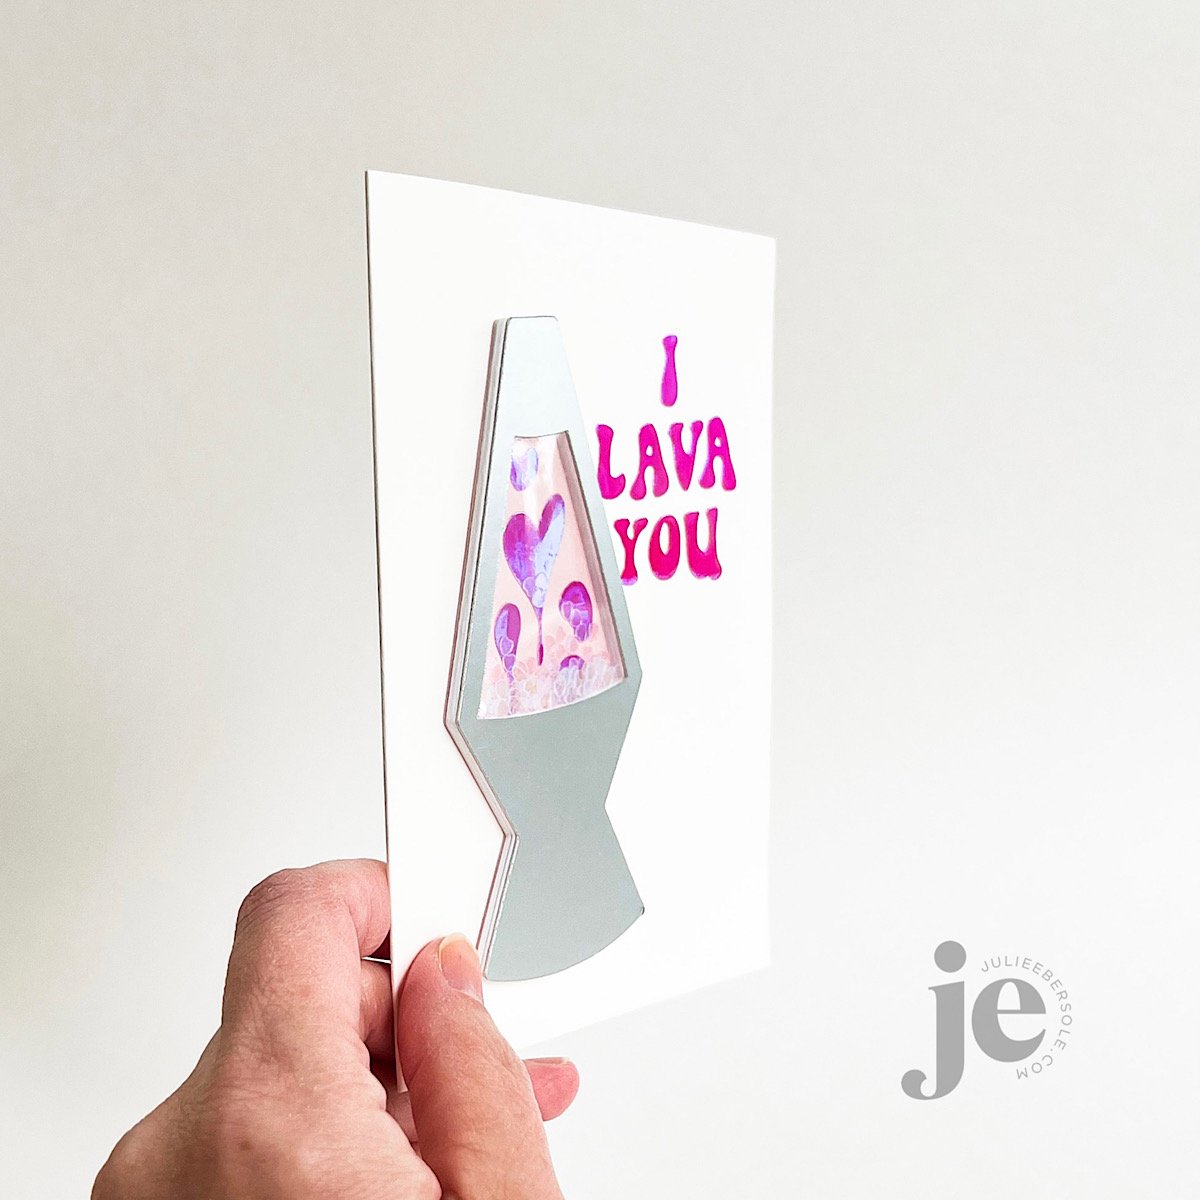
Cricut Glitter Iron-on Vinyl in "Gold" (affil) used on these Valentine Greetings for a Heart Shaped Card:

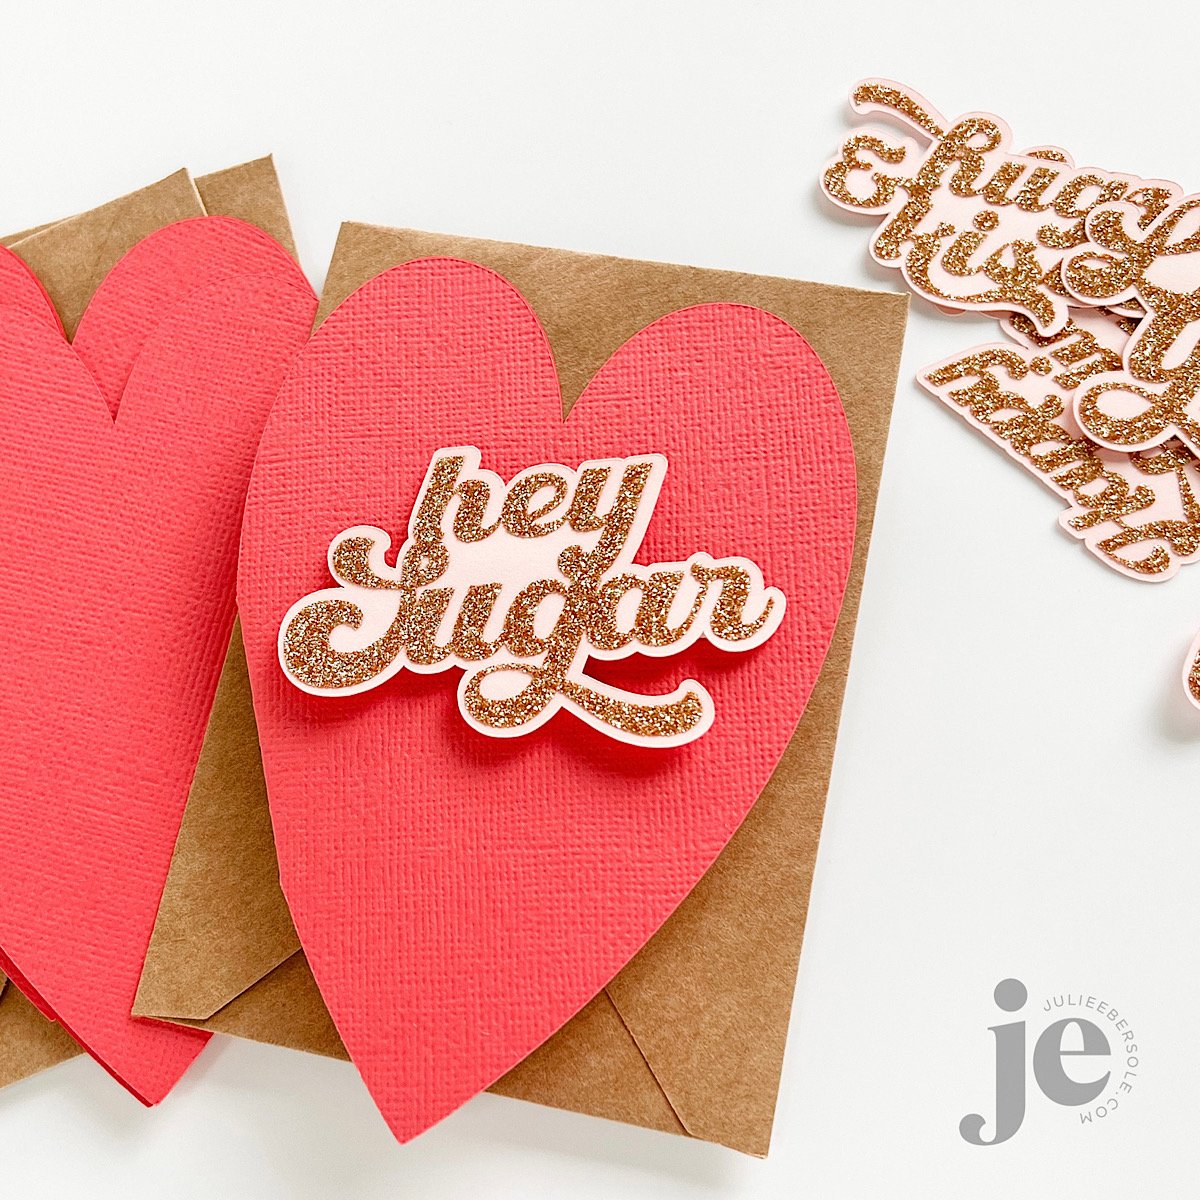
I seriously had a ton of fun using this stuff—I had been on a quest for no-shed glitter card stock because most that I own, shed glitter like crazy, which makes me NUTS! Love the look, hate the mess. So, when I saw someone using HTV, I literally started monkey-clapping!
Thanks for stopping by and have a great weekend!
Disclosure: I include affiliate links to the products used in my posts and make a small commission when you purchase via those links, at no extra dimes to you. 🙂 Your support is appreciated more than I can say!
SUPPLIES MENTIONED:
Tools & supplies I use regularly in my Cricut Crafting:
Park Lane Card Stock, 80# --Lots of different variety color packs available.