Yessirreee, the June 2023 Essentials by Ellen Release is available now!
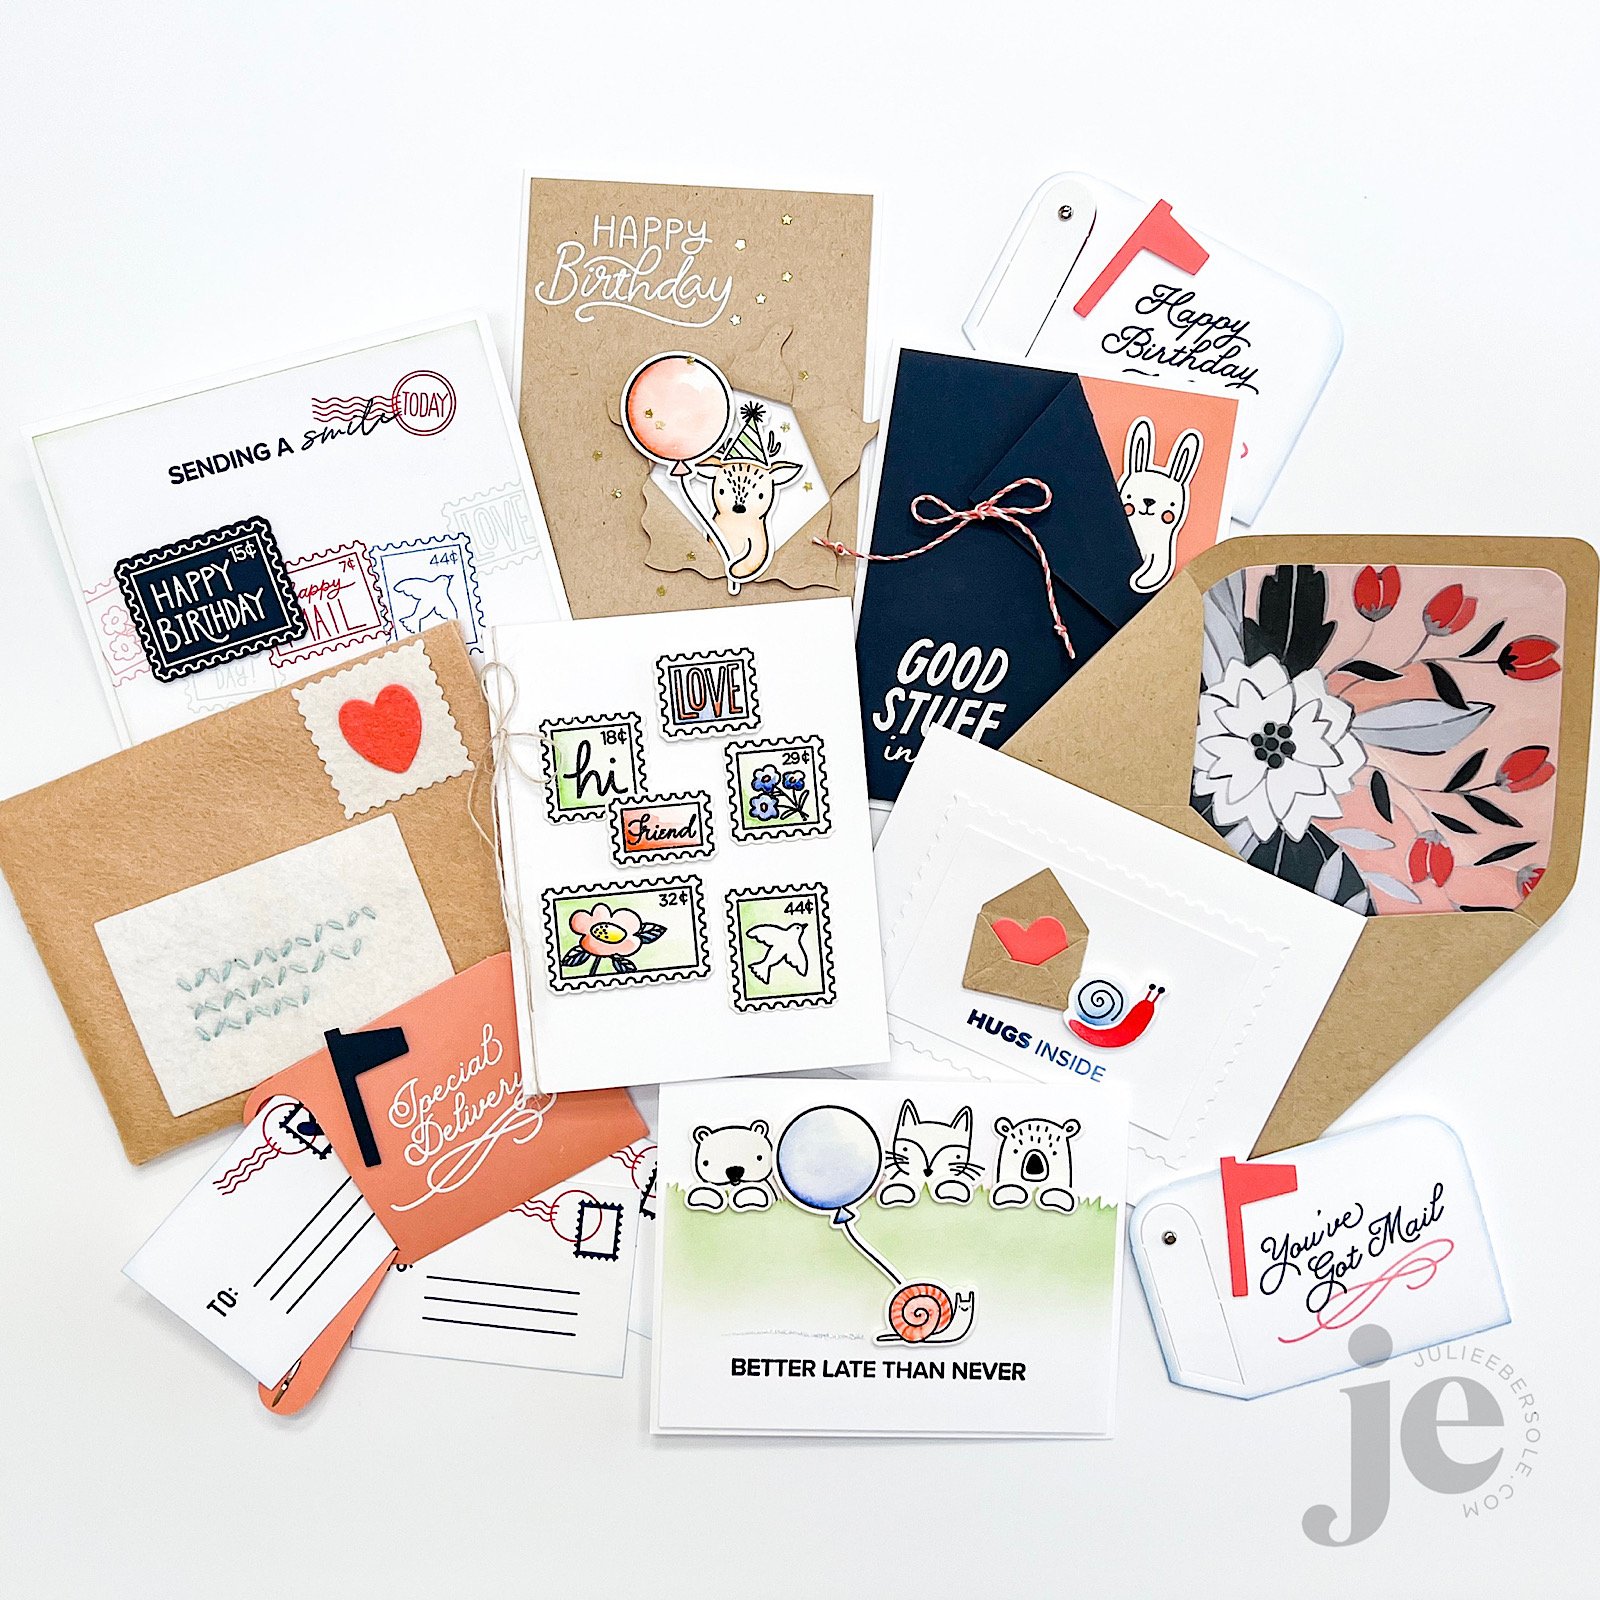
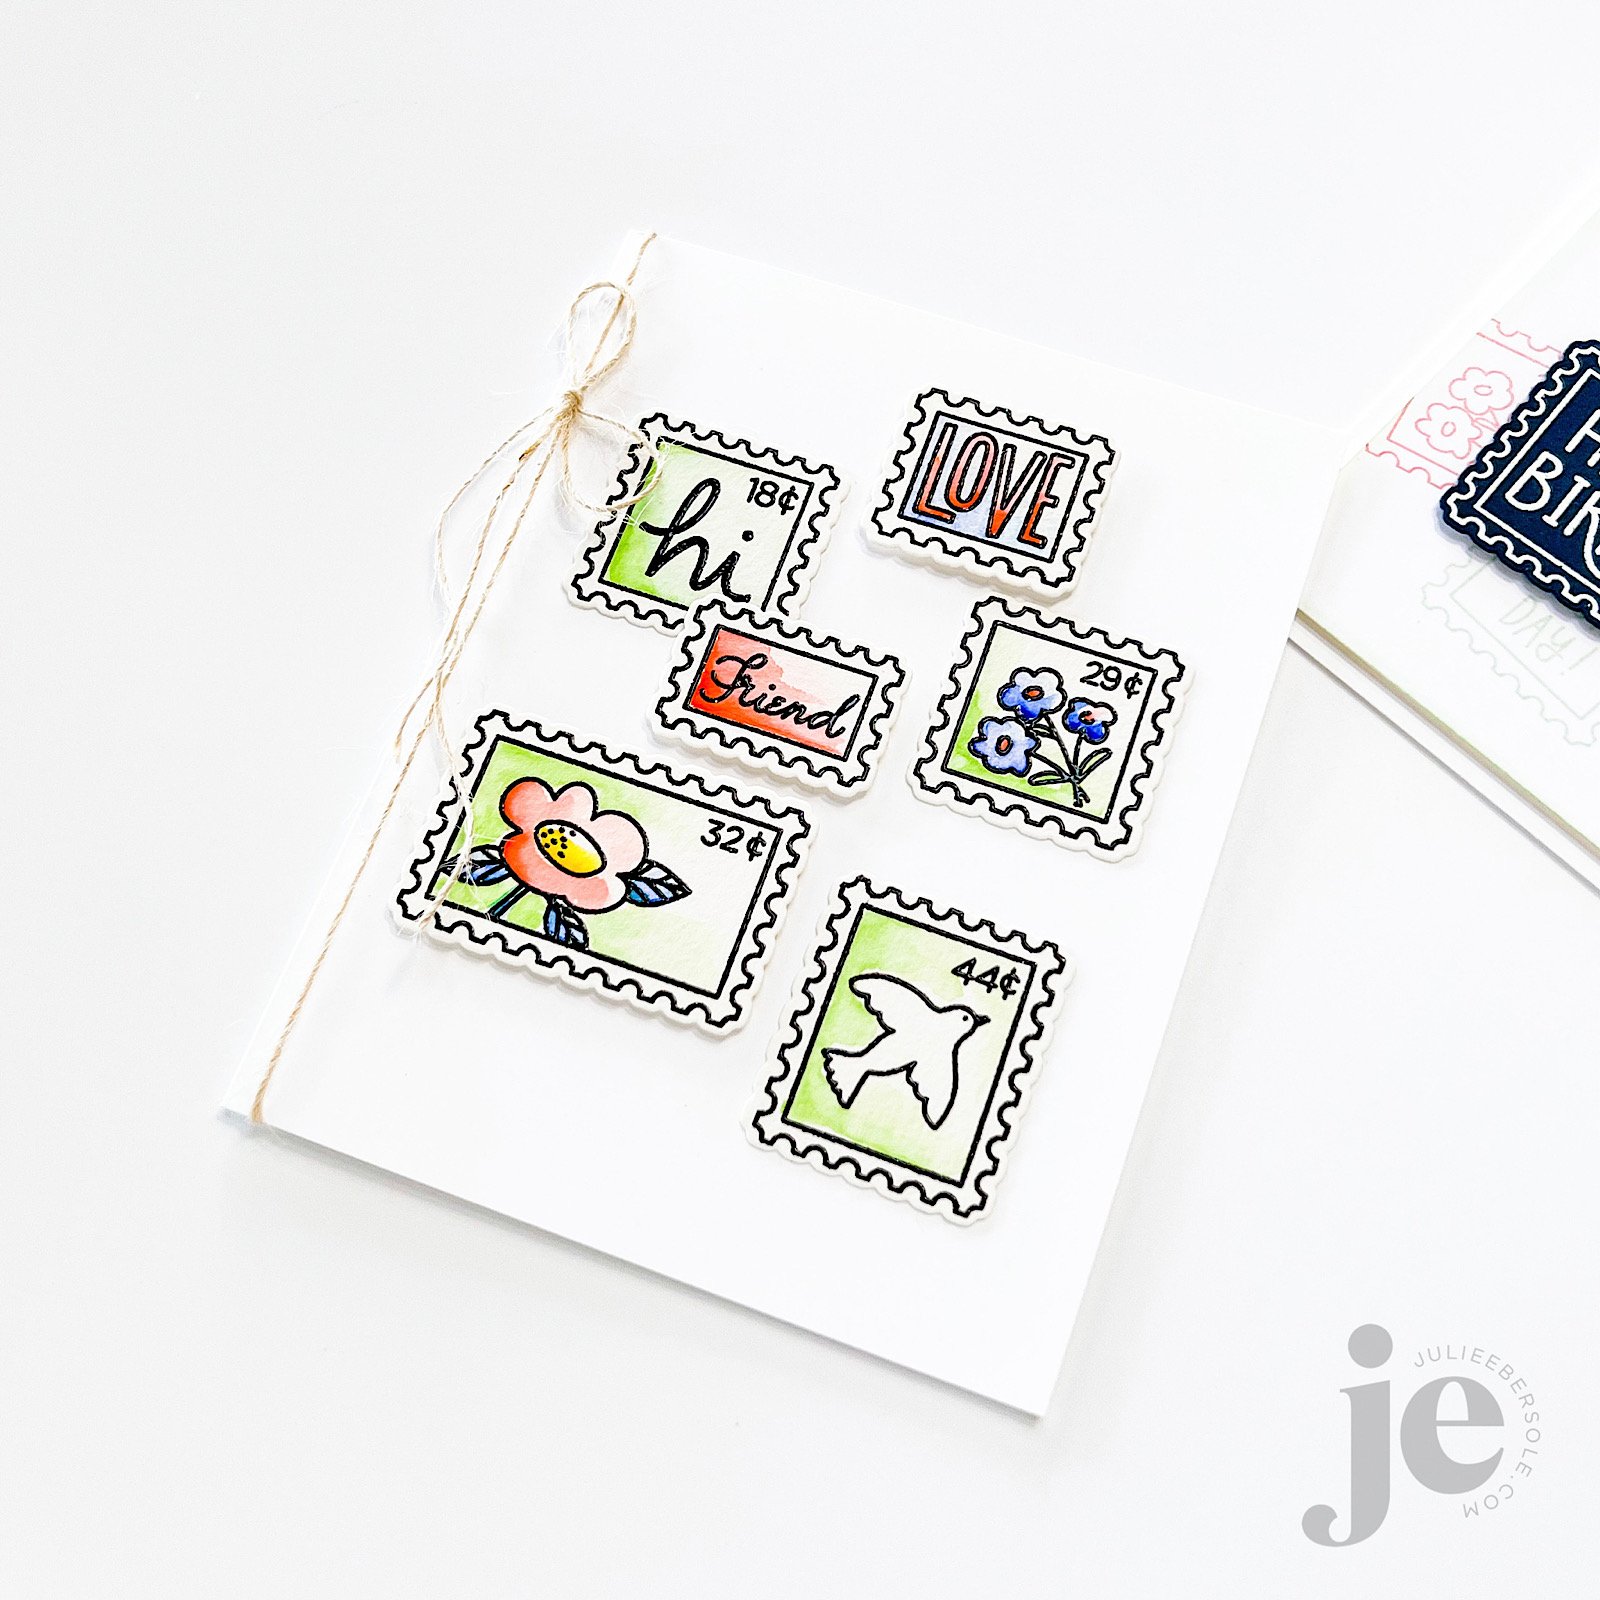
When I was first introduced to stamping and card making over 30 years ago, postage themed rubber stamps were VERY prevalent and I LOVED using my collection to make collage style greetings and dress up my envelopes! Back then, the art style was reflective of real/vintage postage stamps, as well as date and cancellation markings.
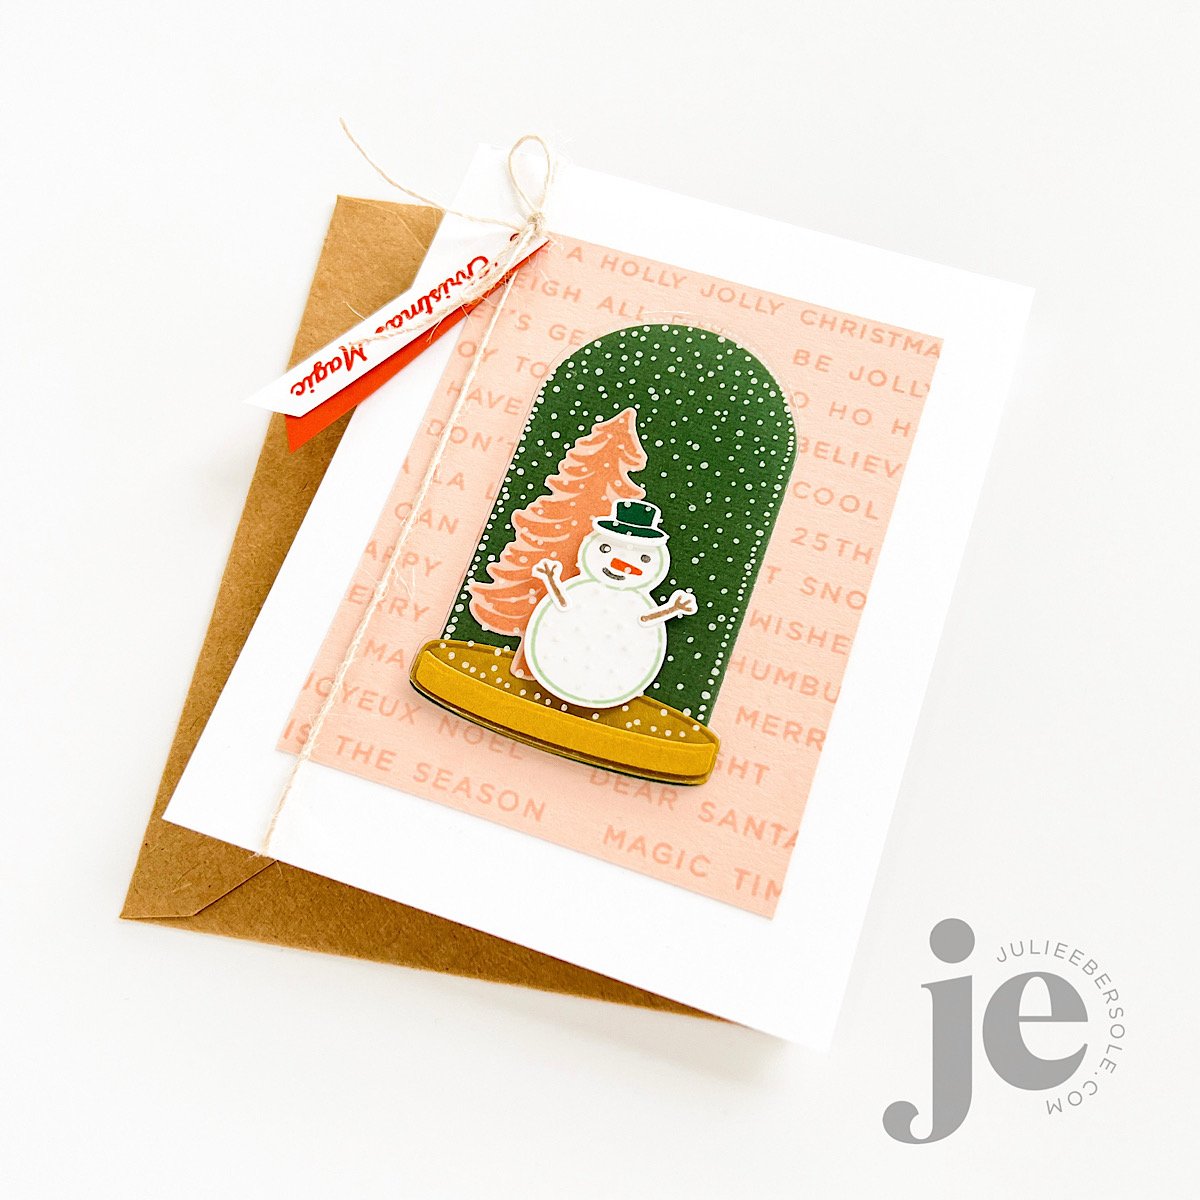
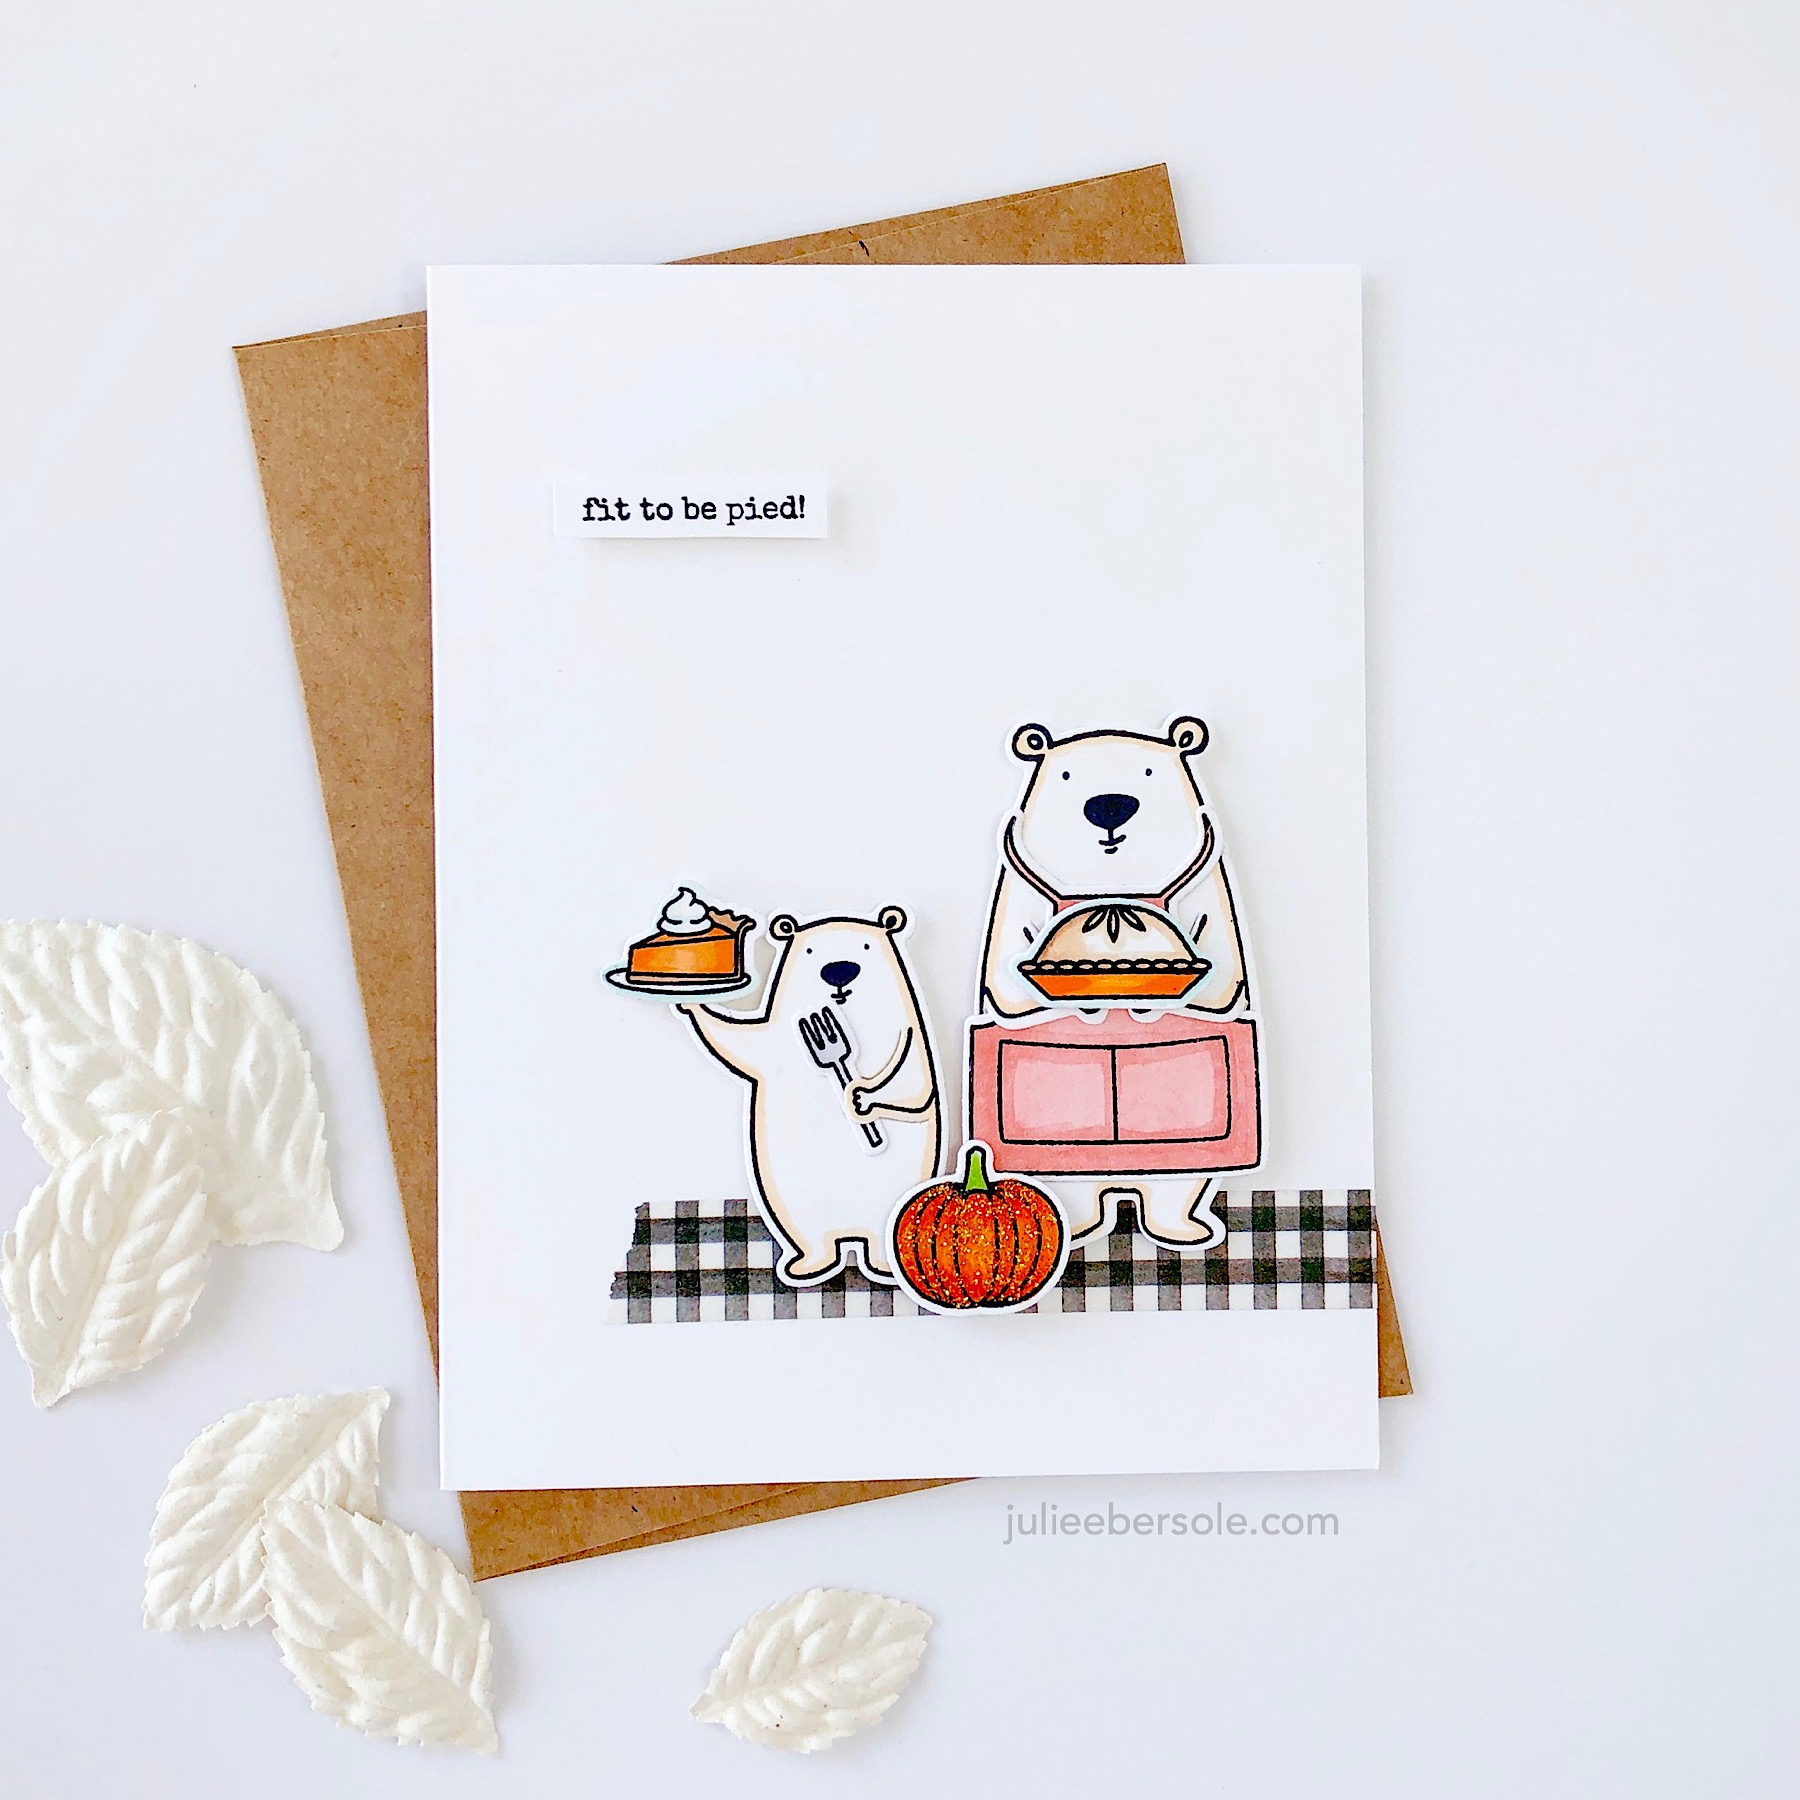
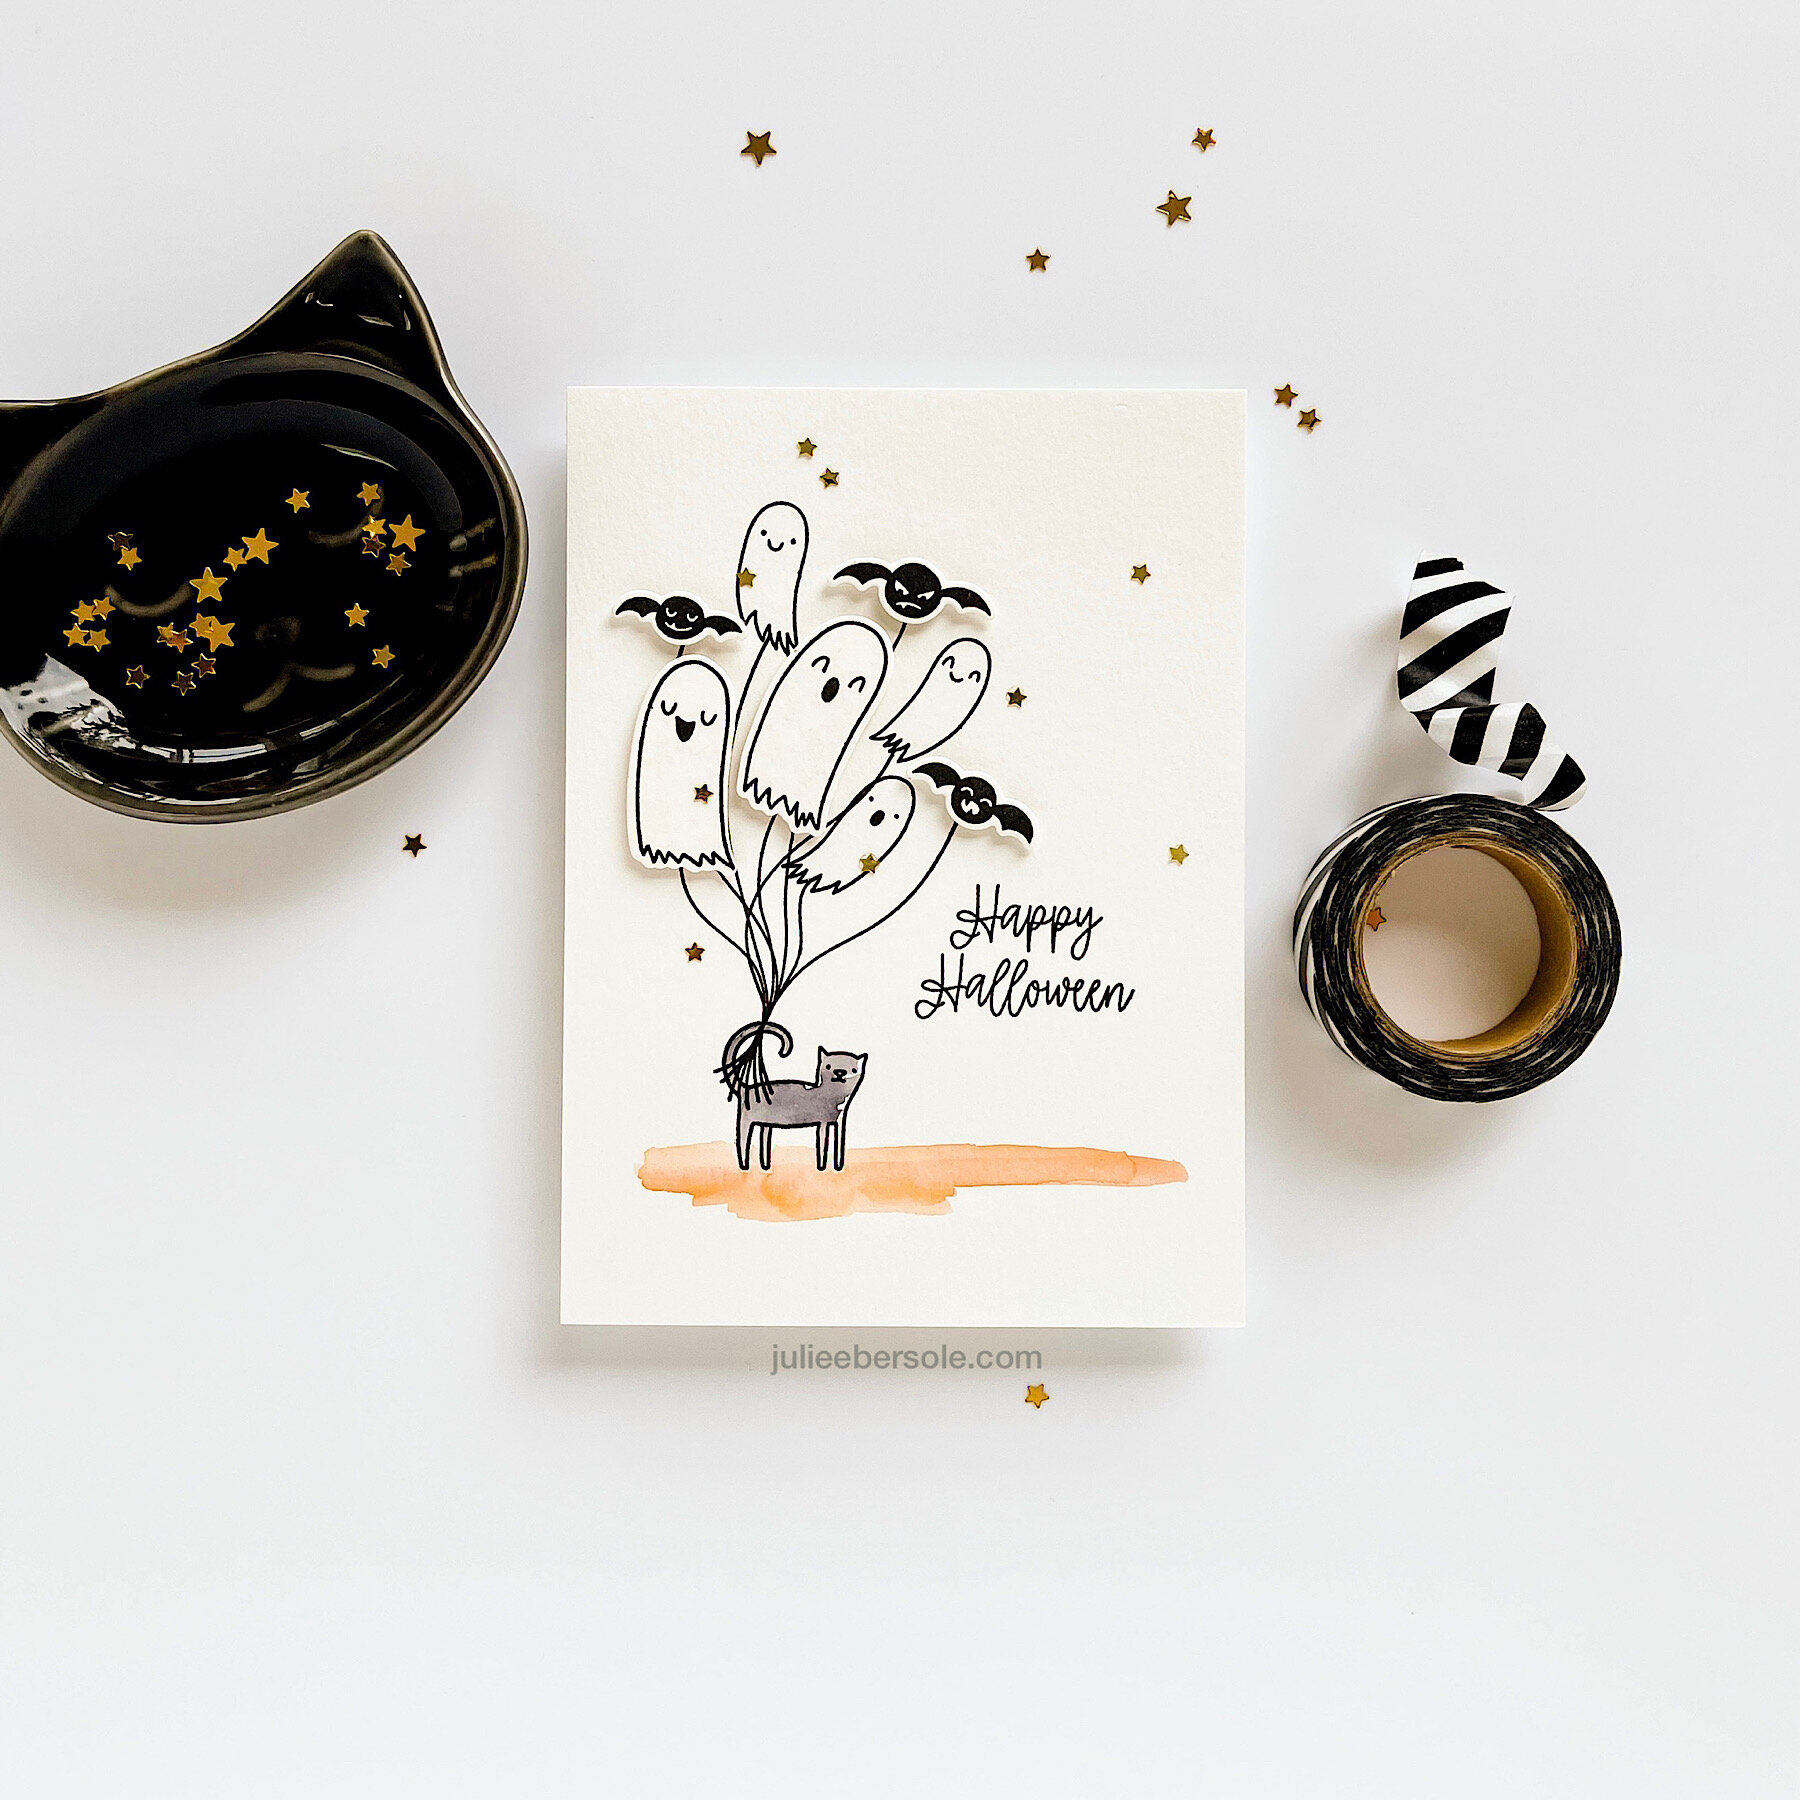
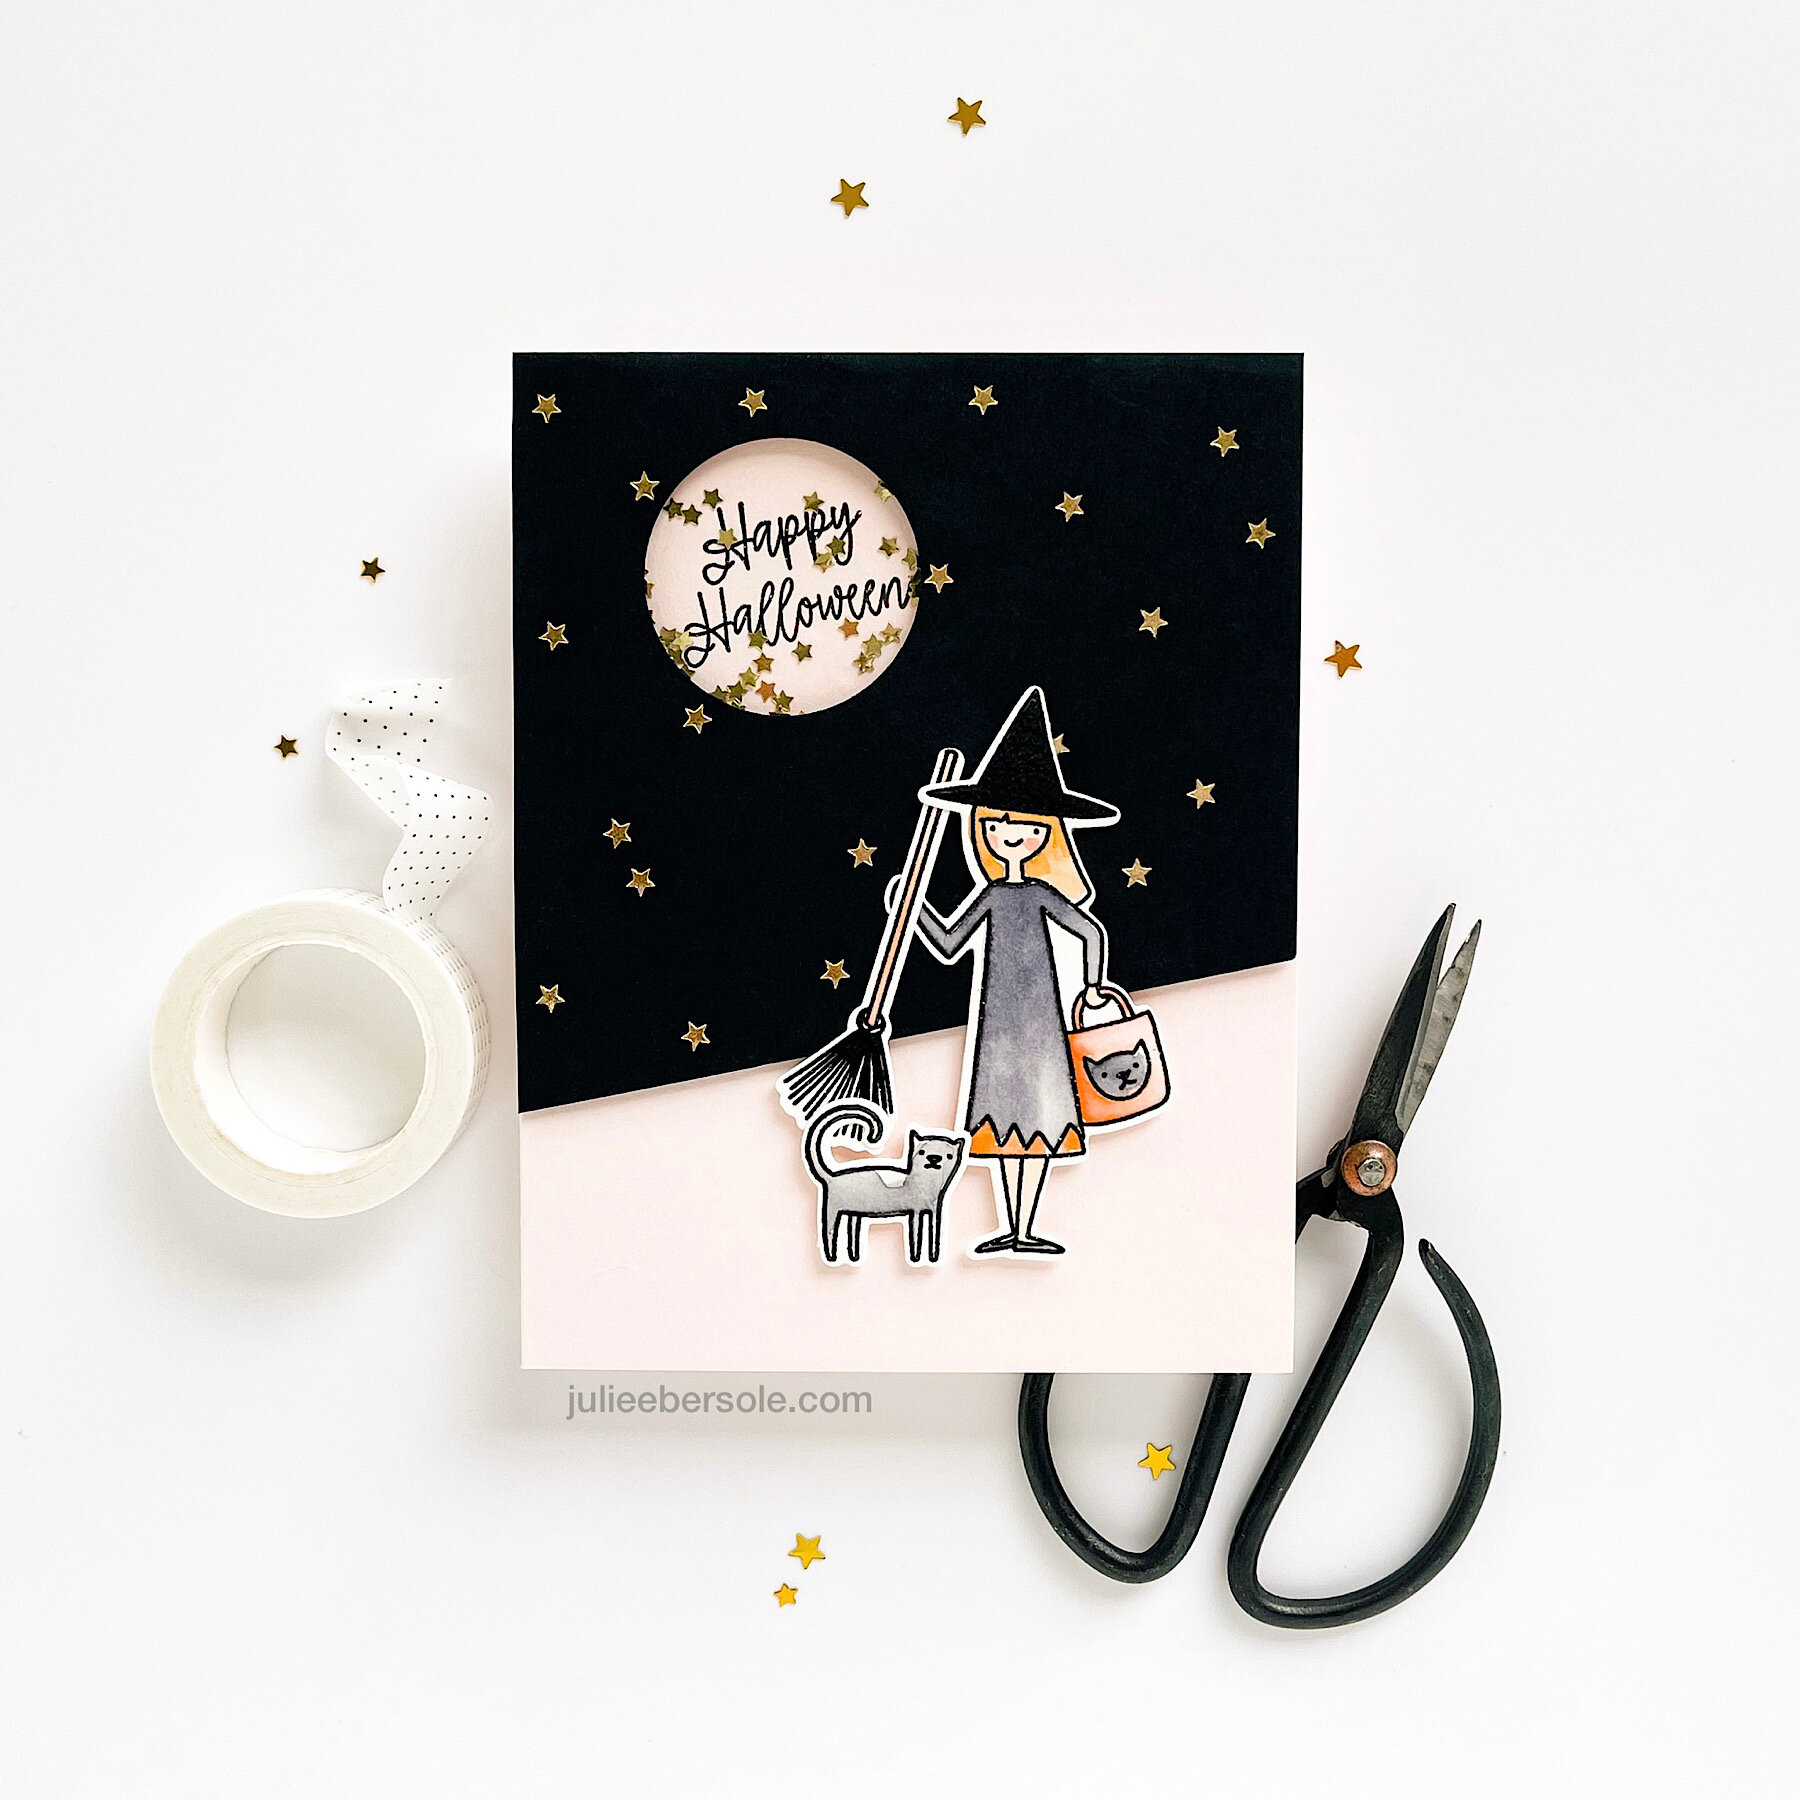
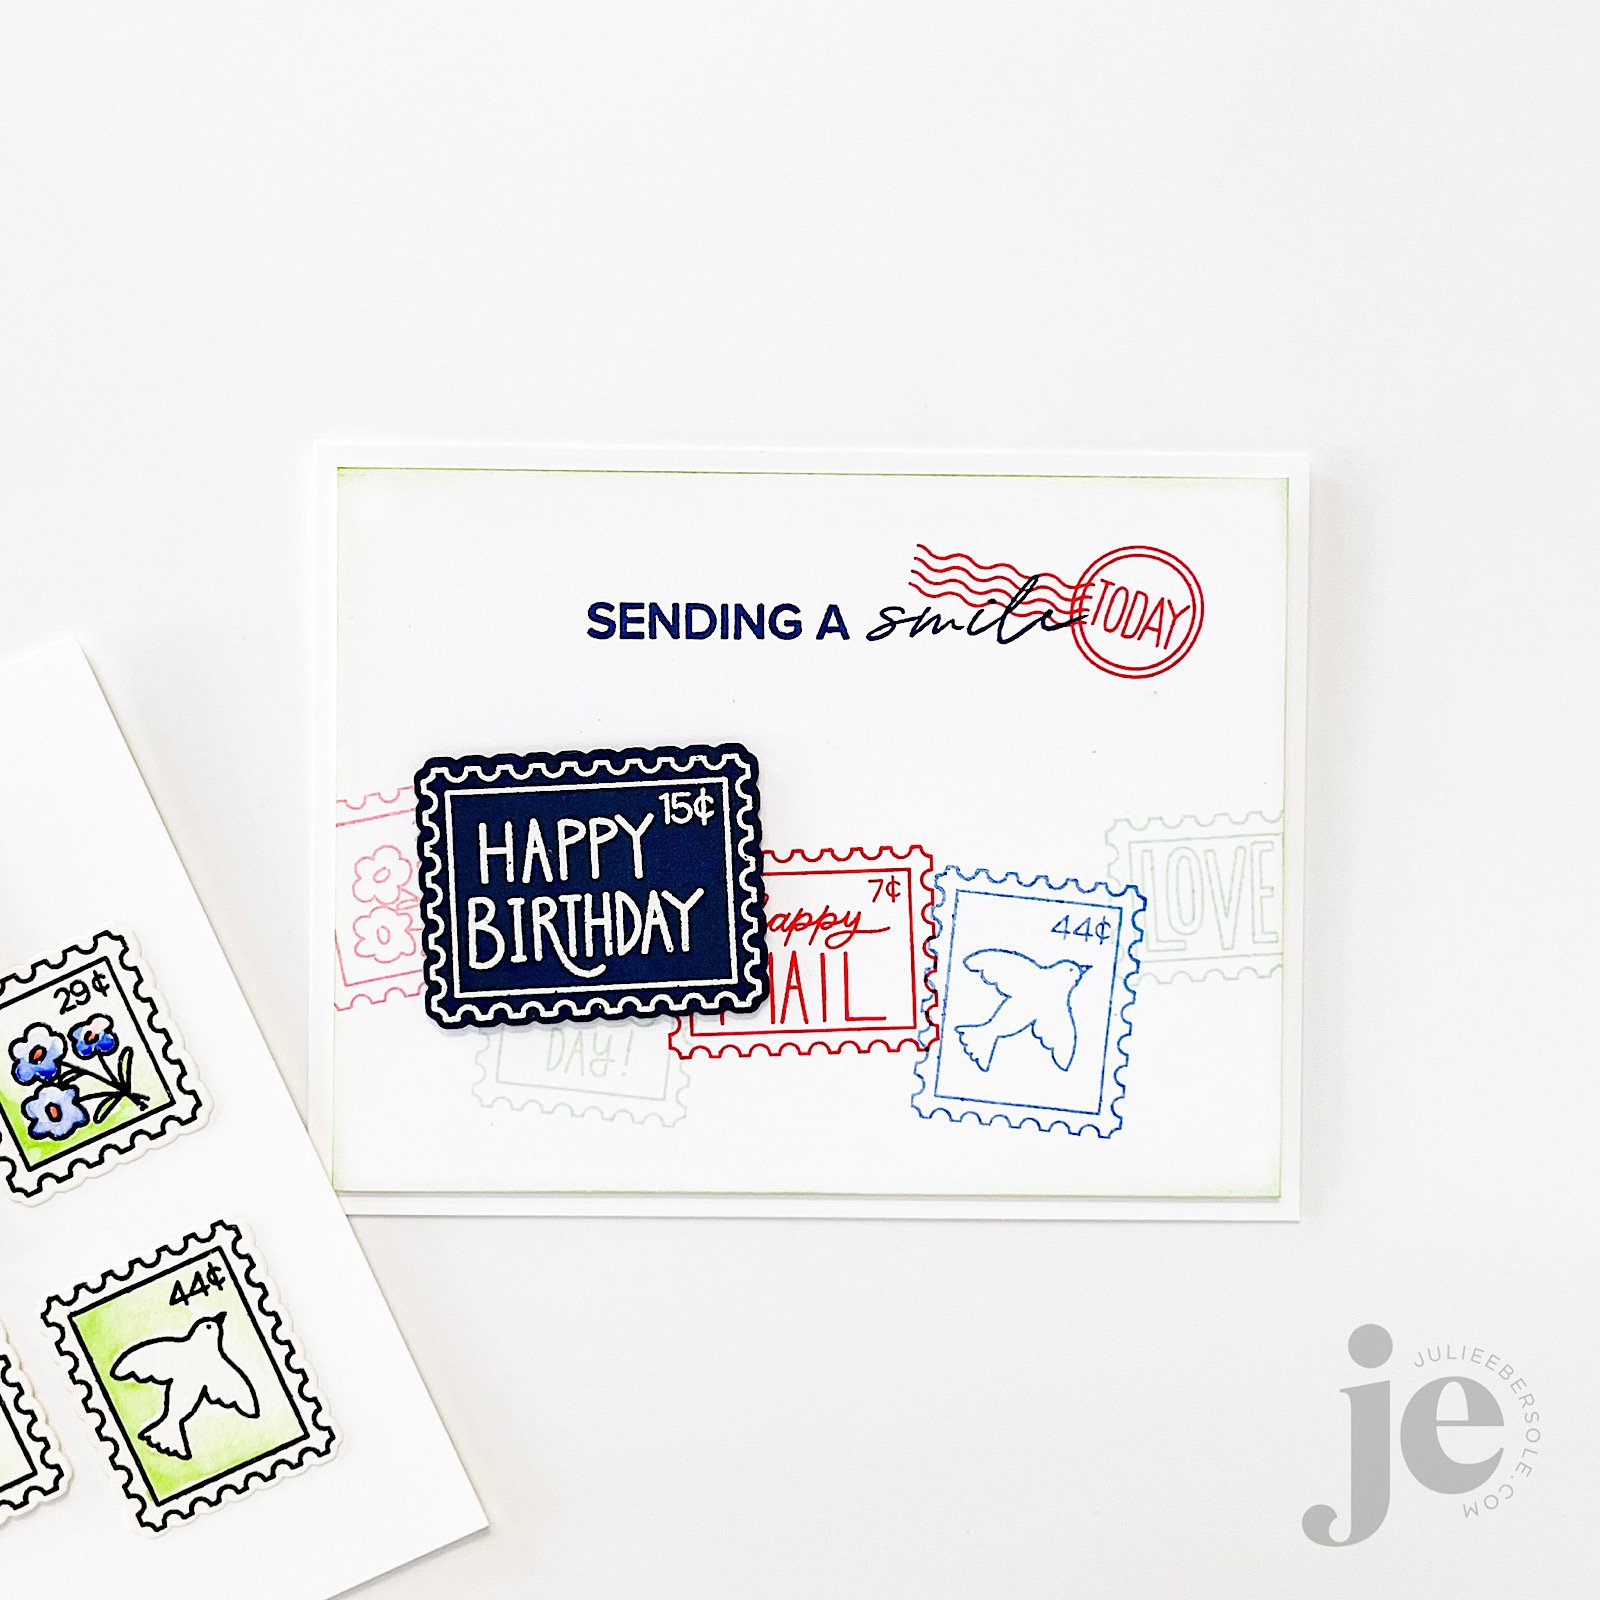
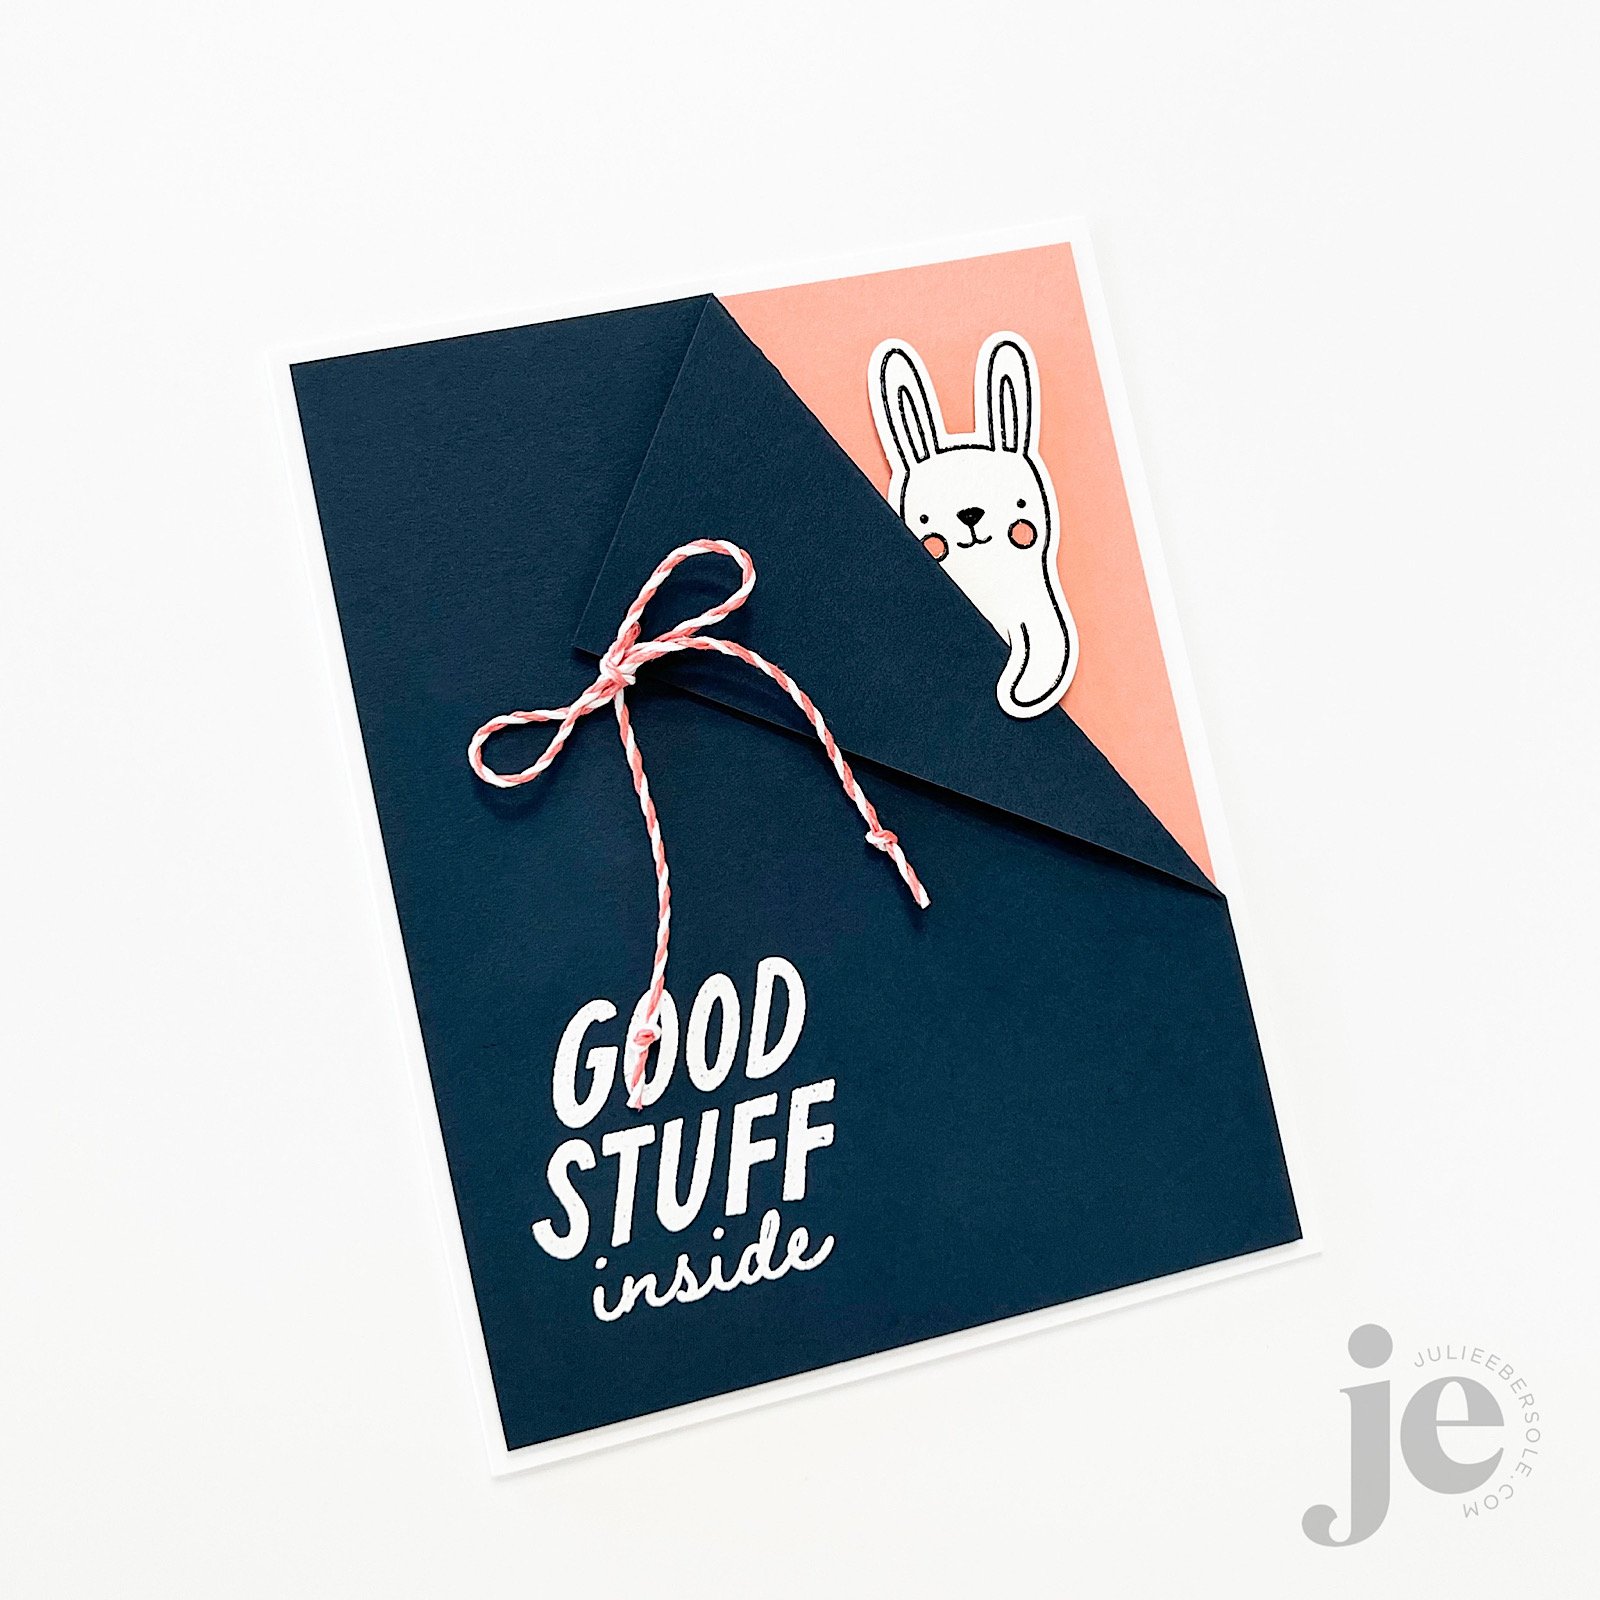
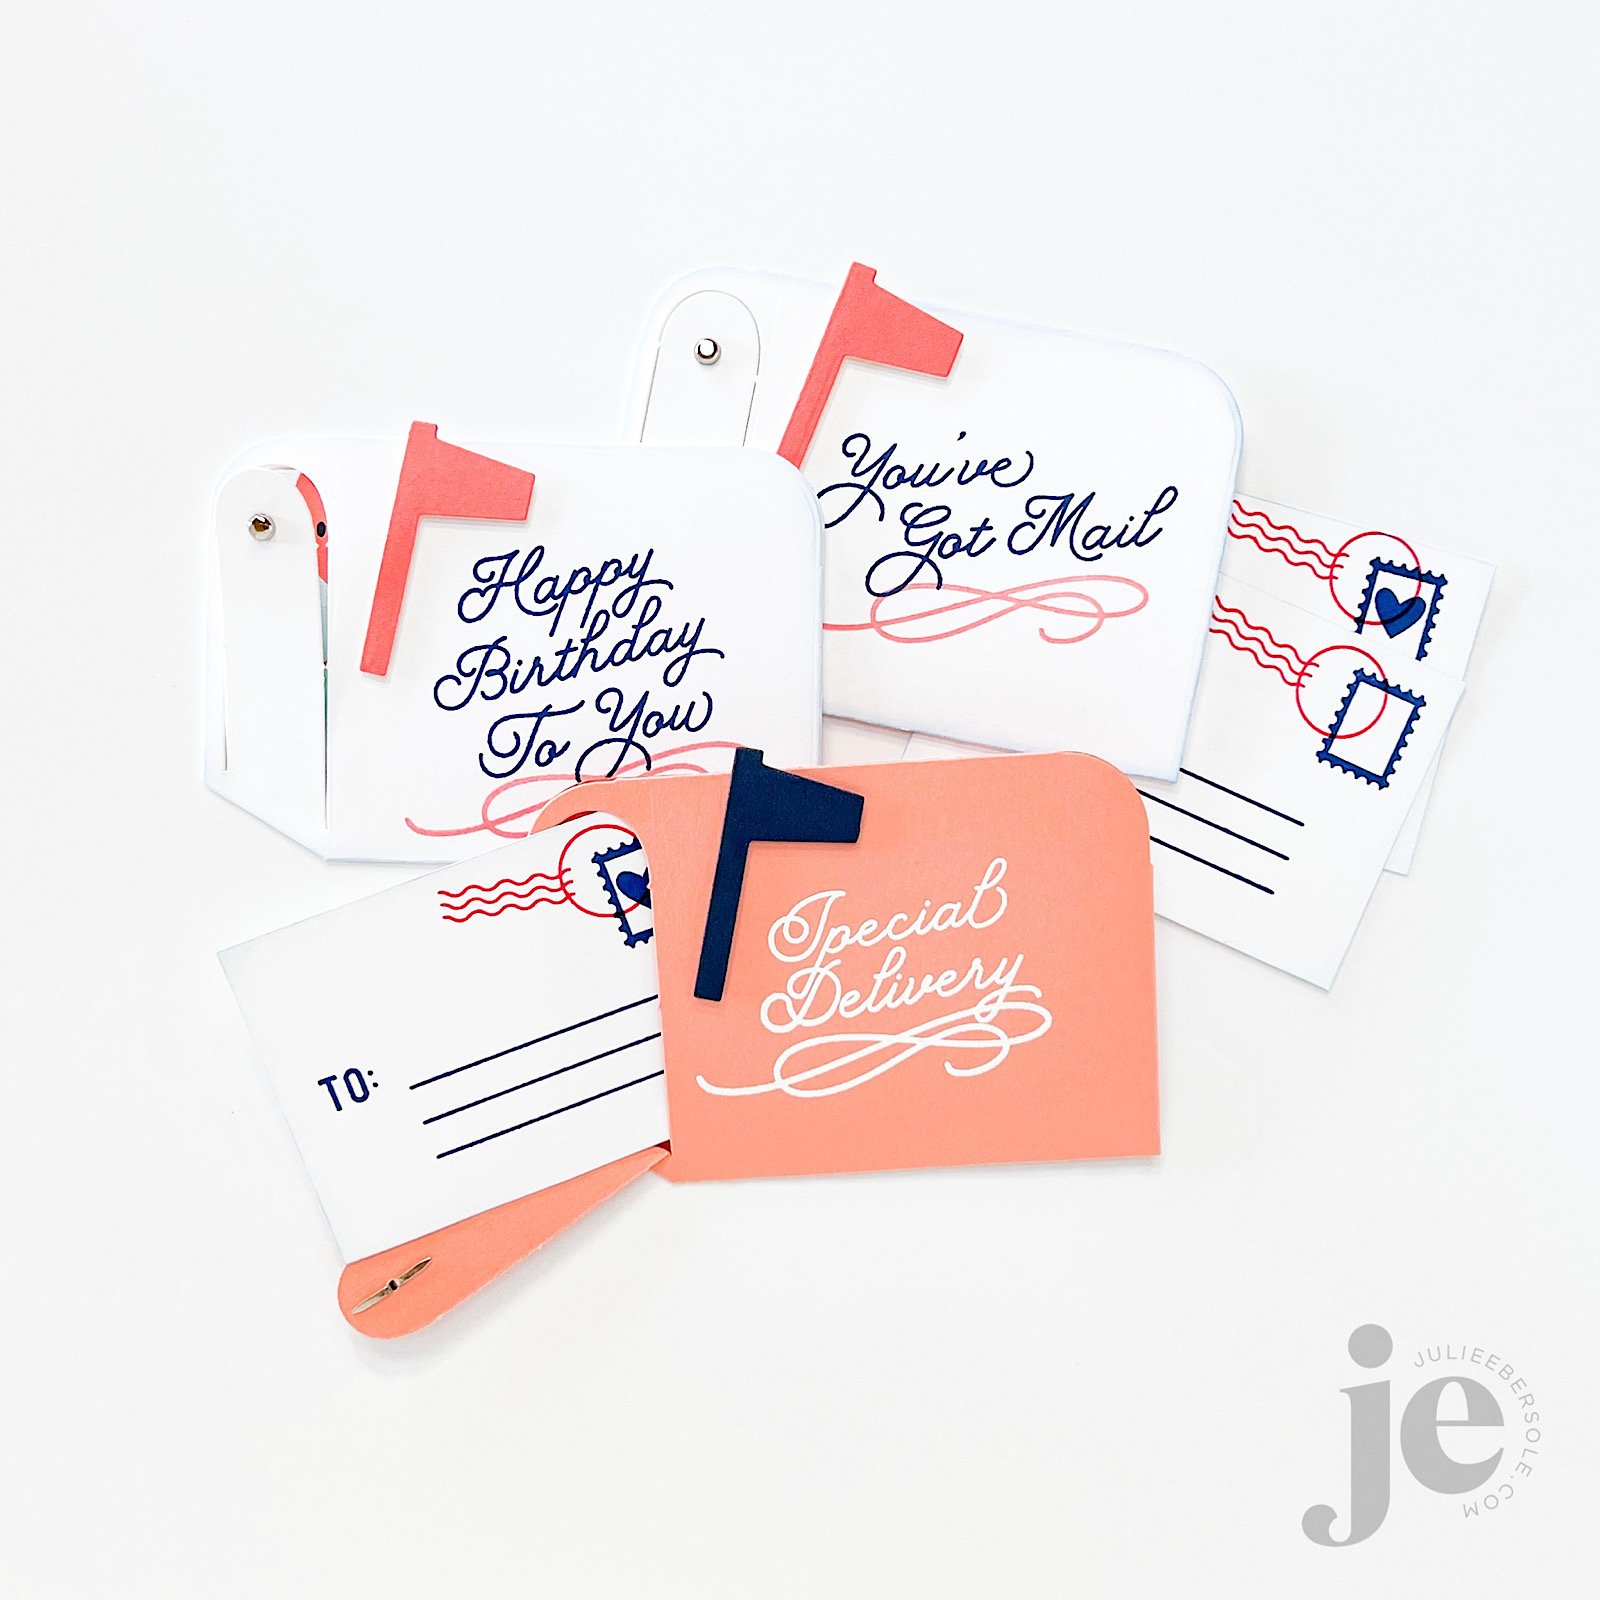
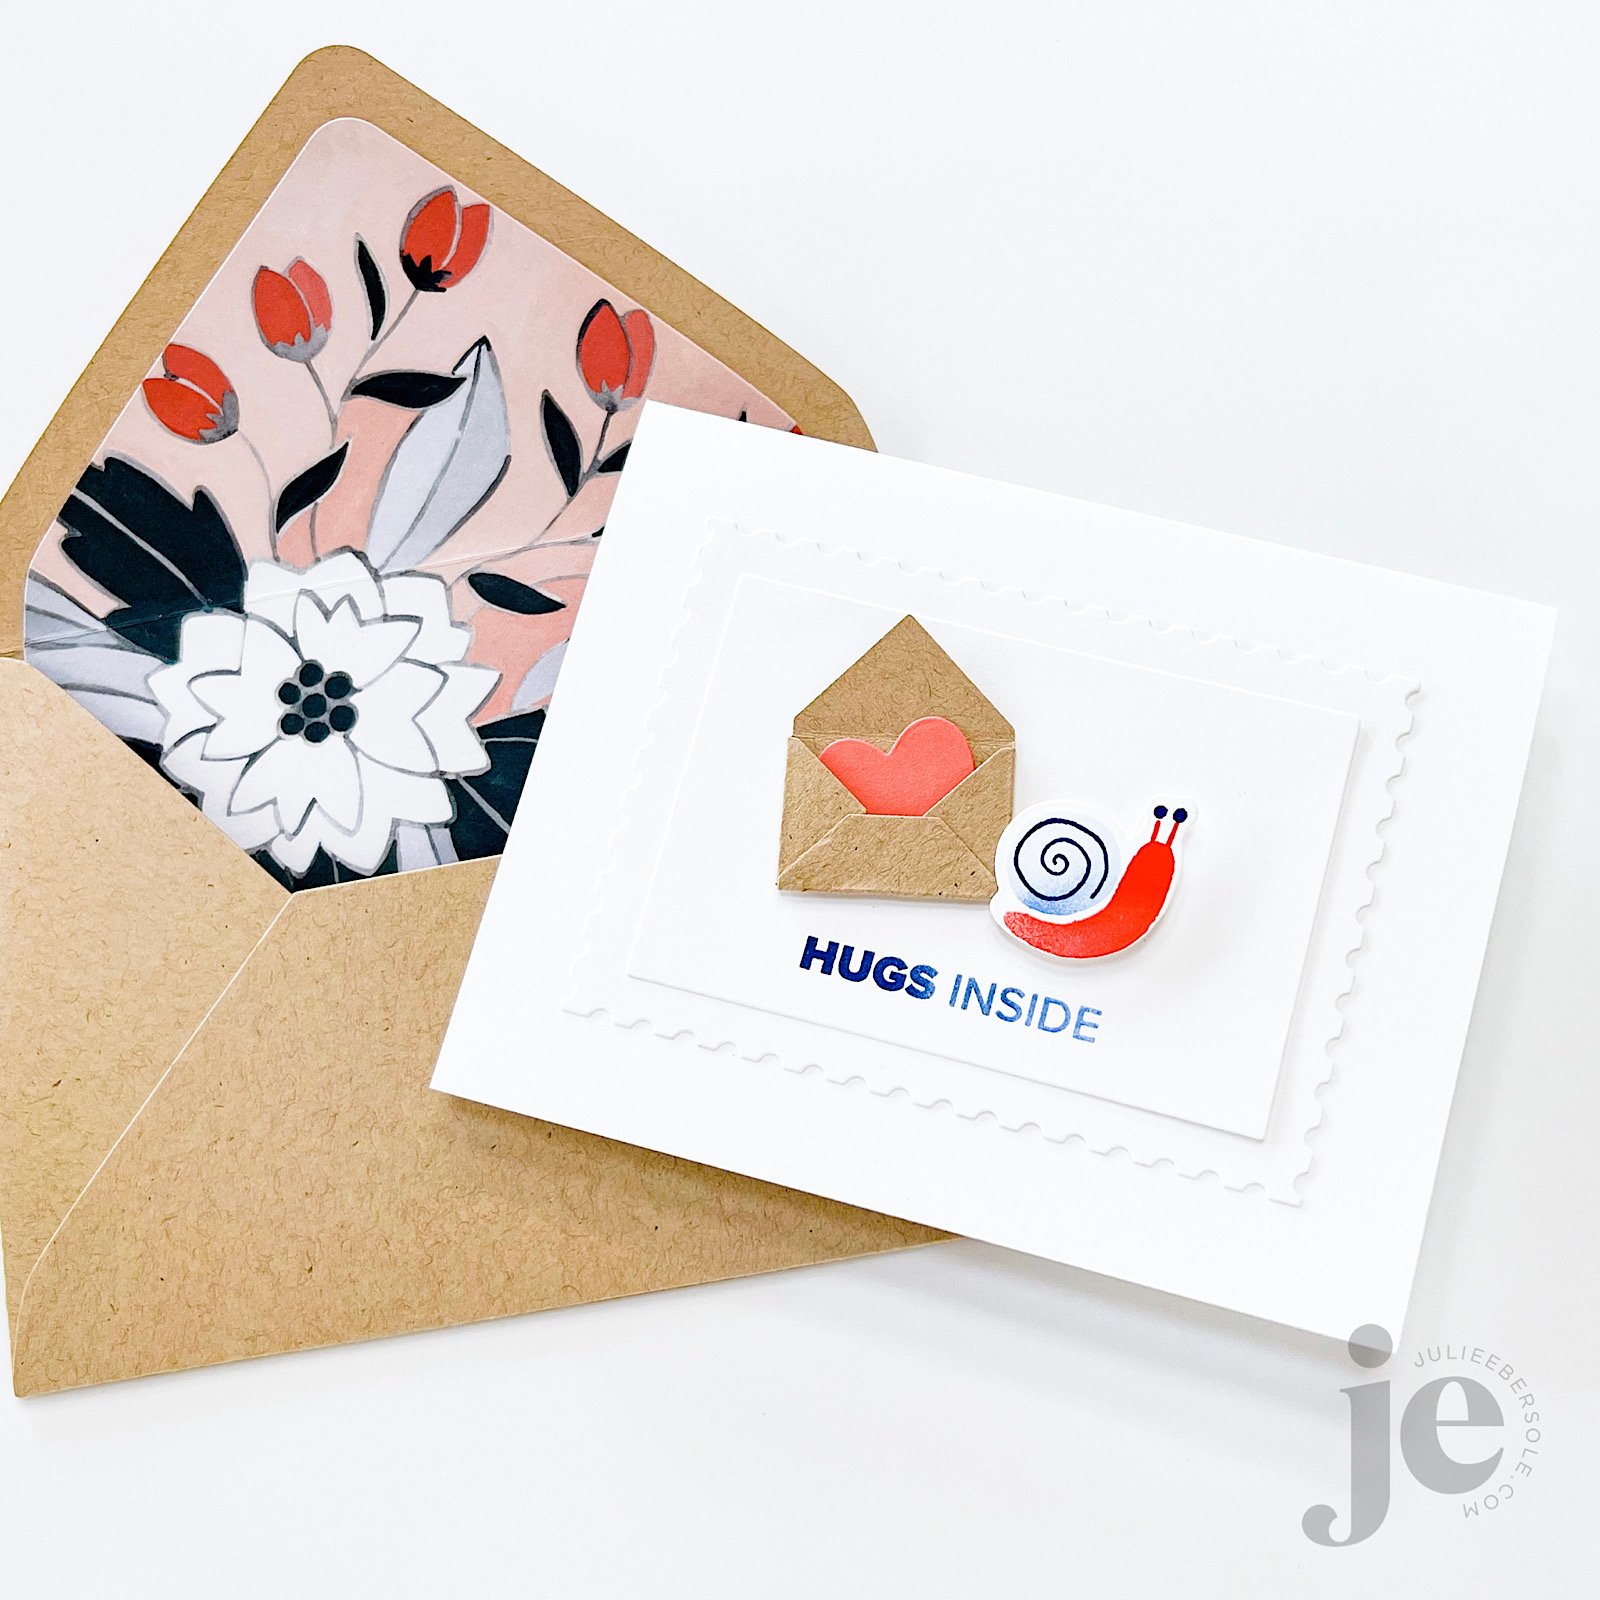
Today, we’ve given it a modern and refreshing whimsical touch and it is so much FUN to play with!
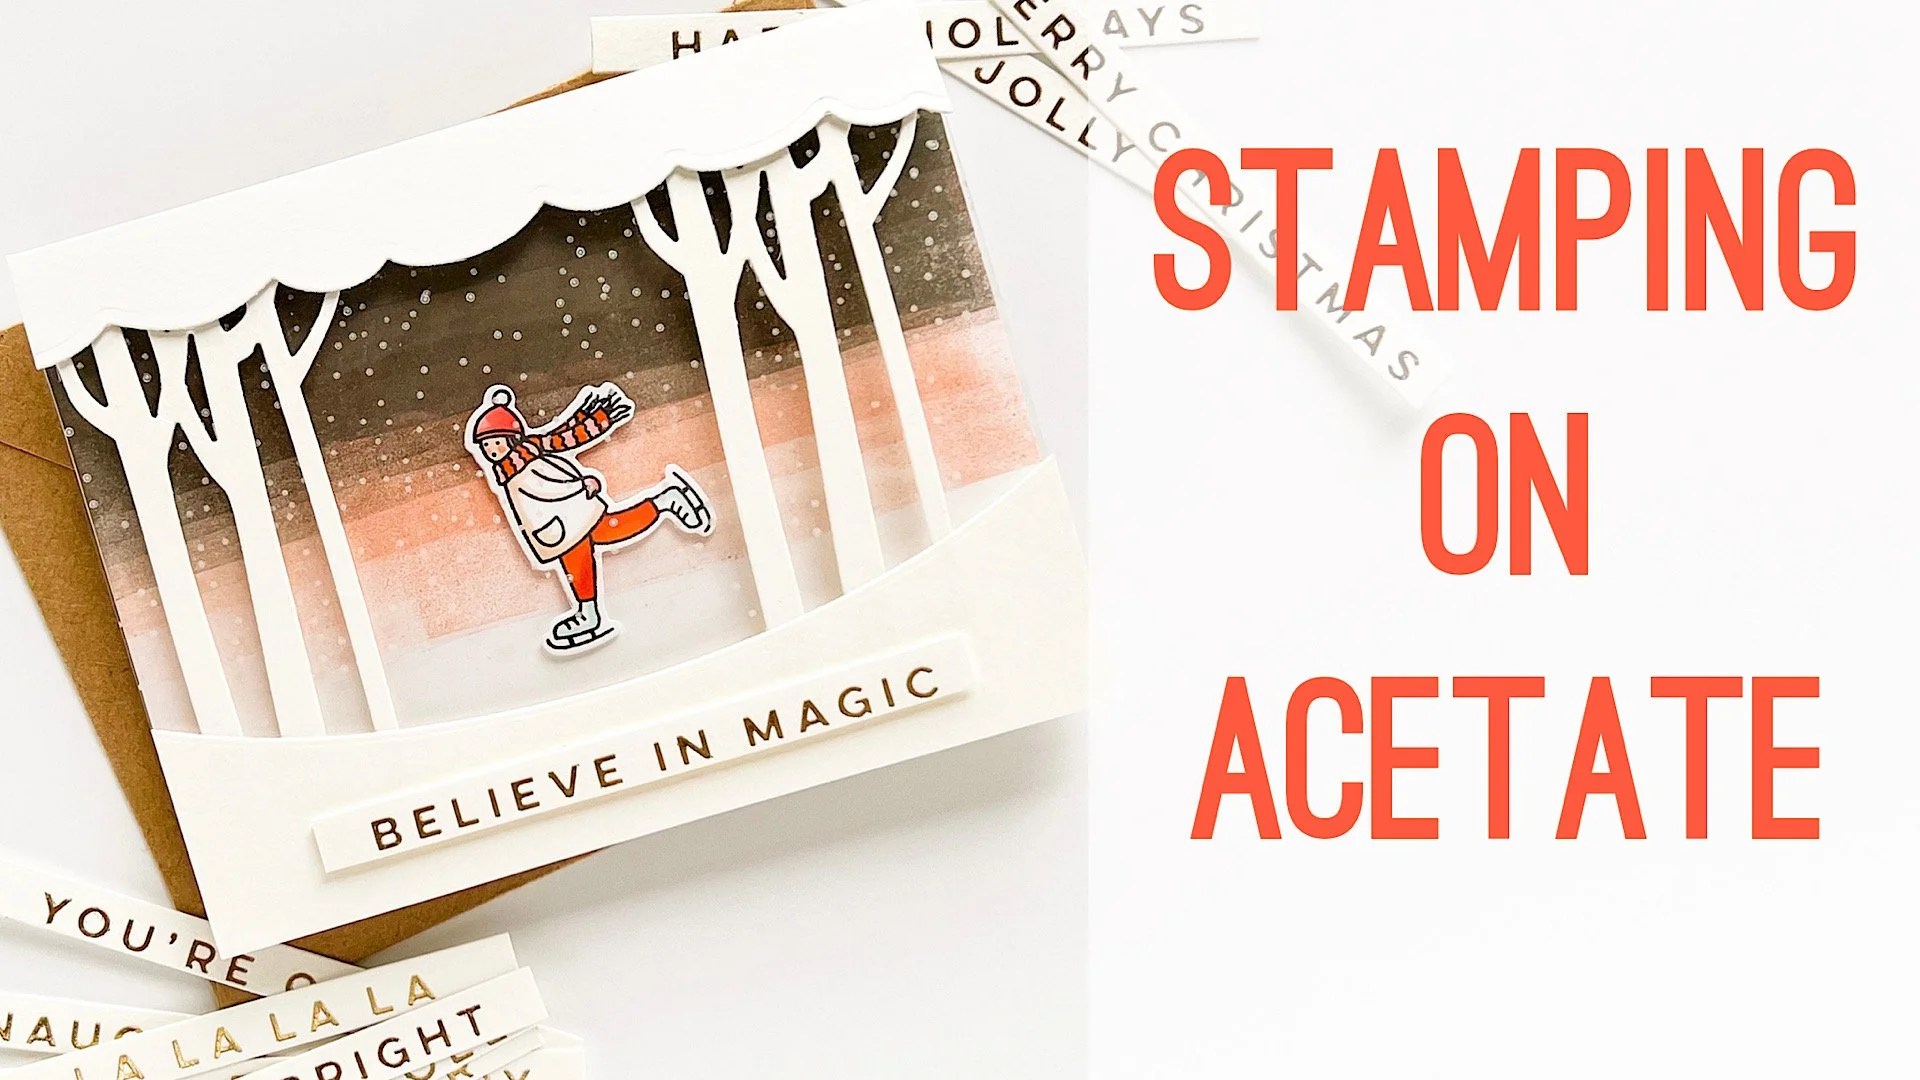
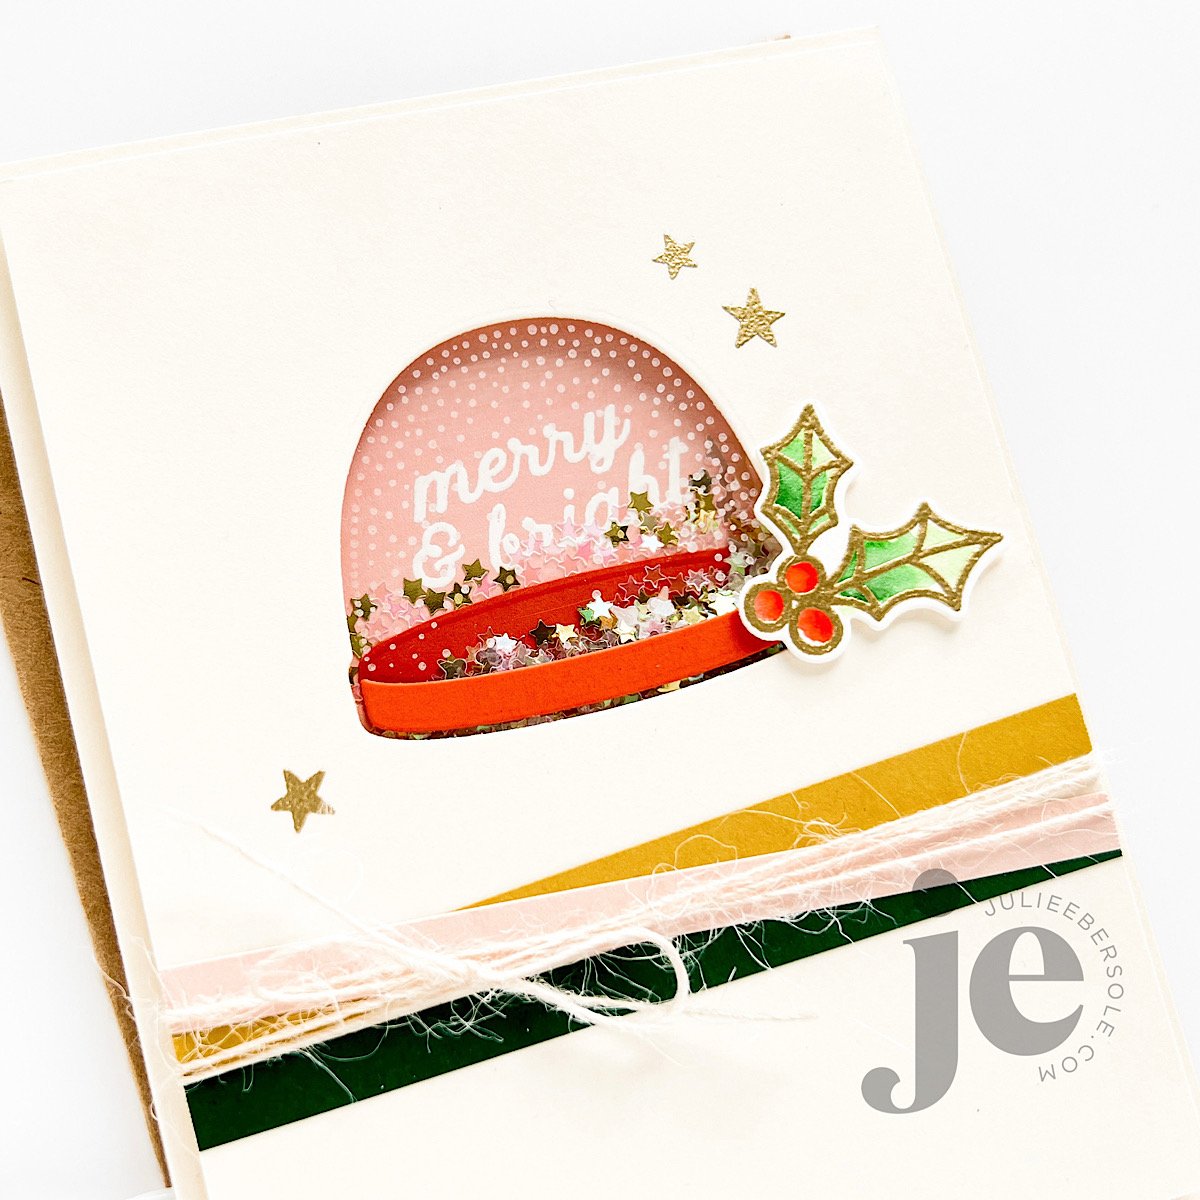
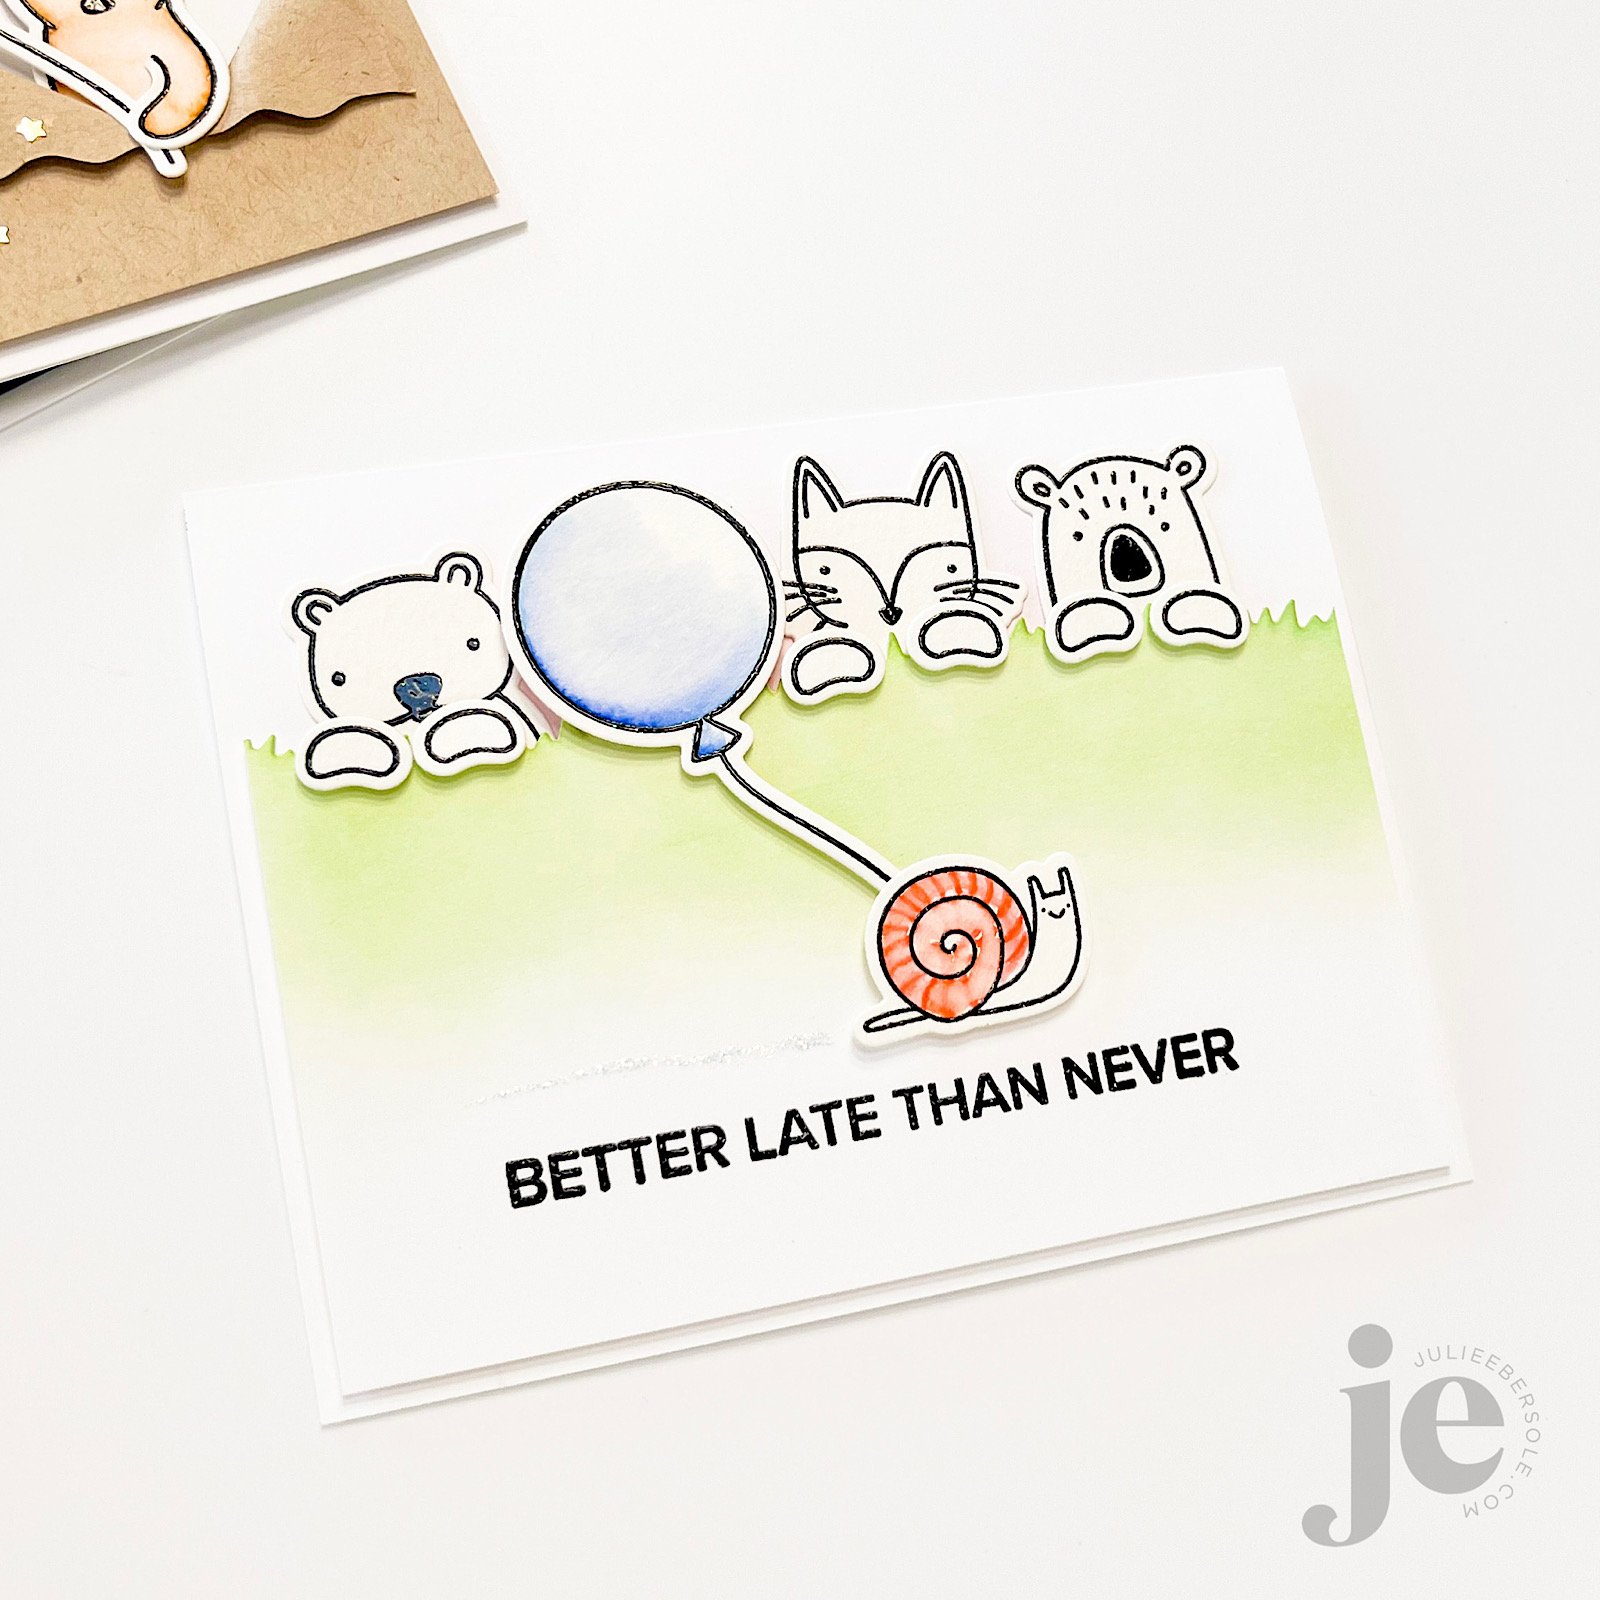
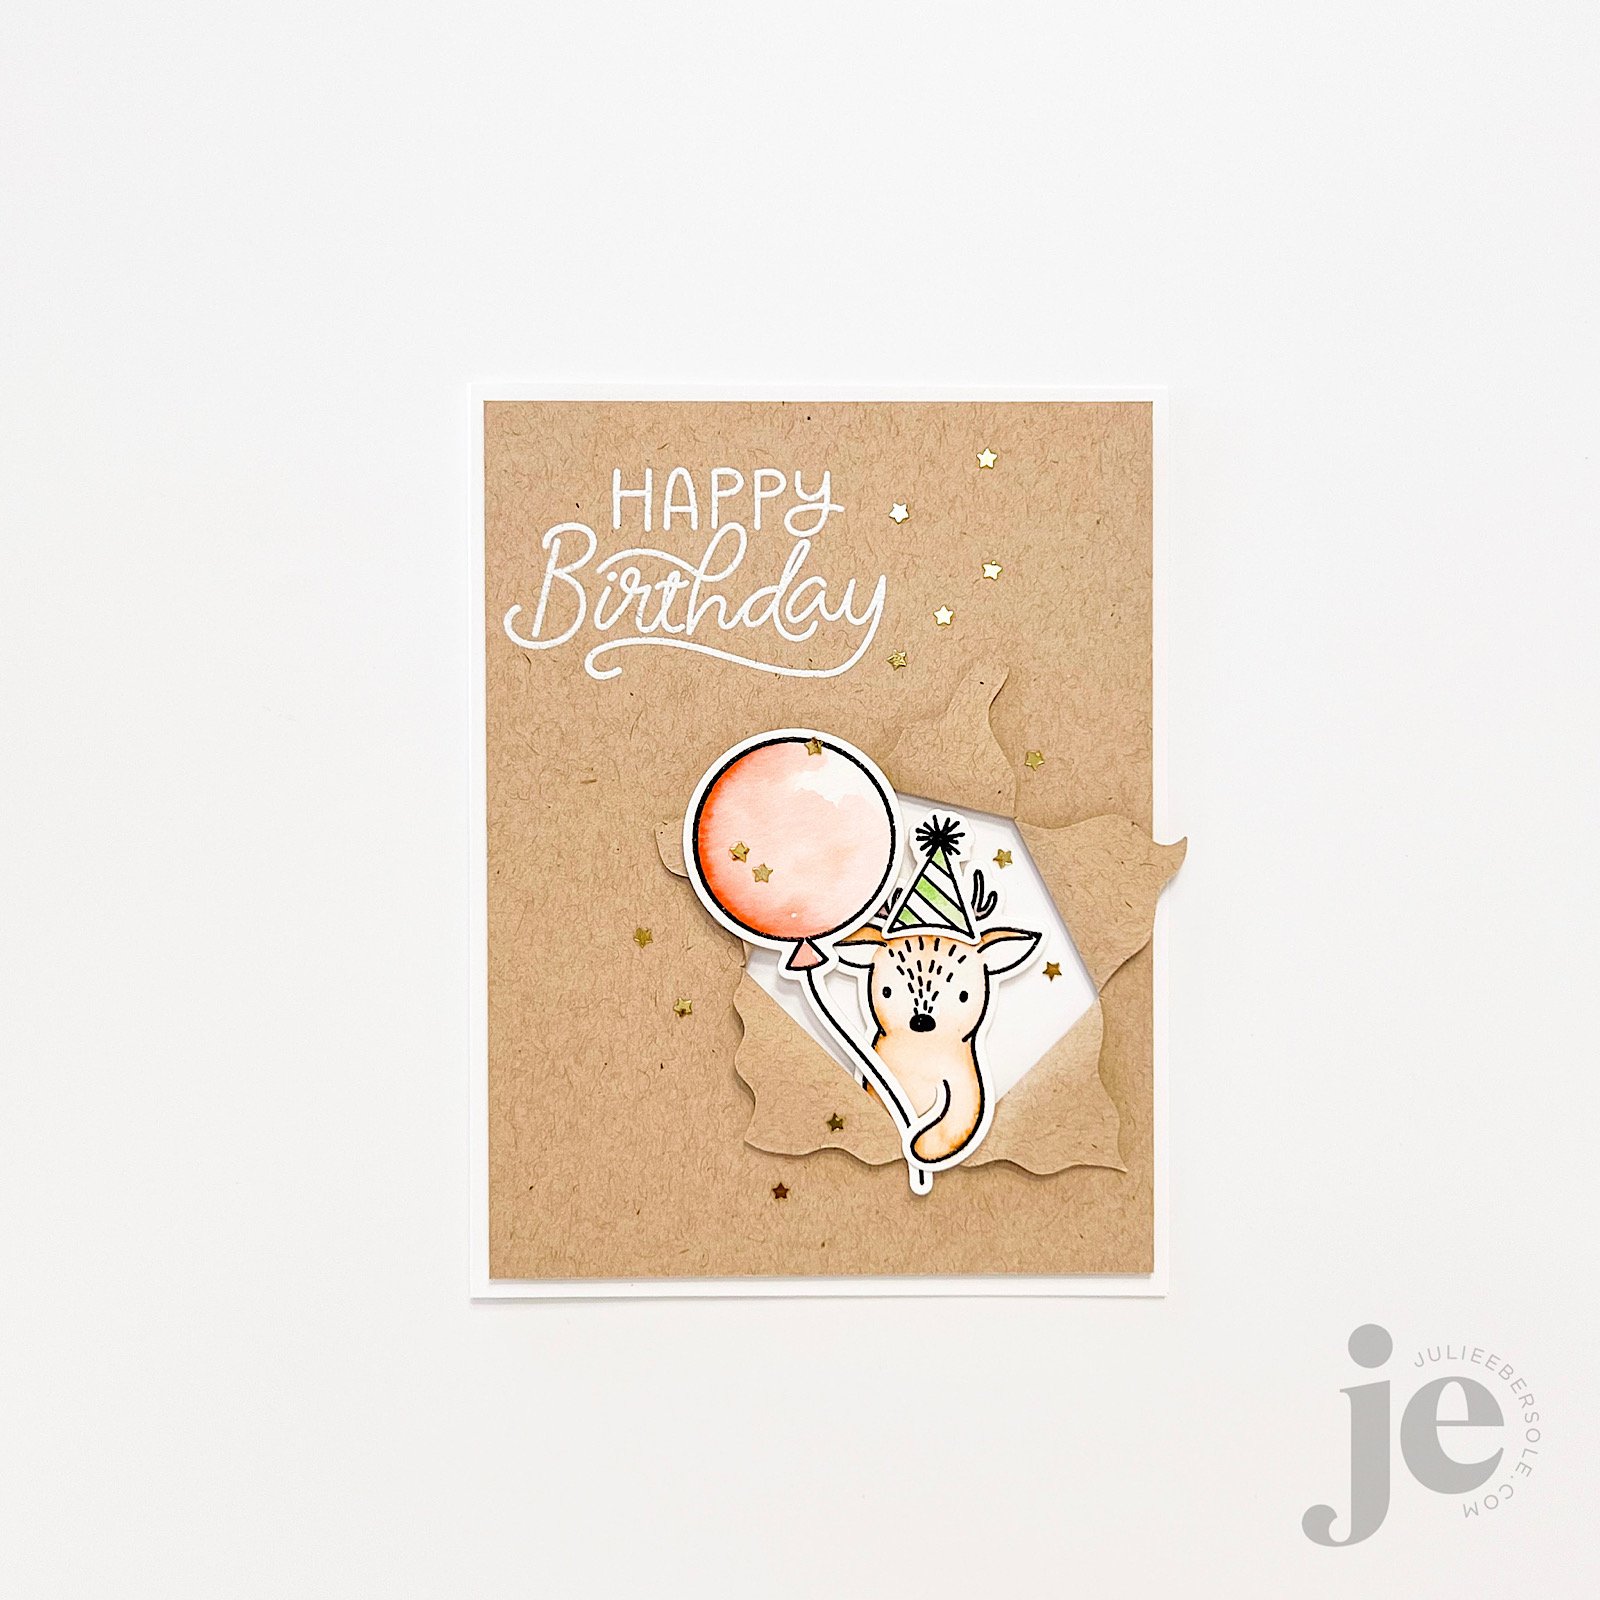
Stroll through the slideshow above to see a few ideas I developed (Alas, there’s never enough hours in the day to execute all the ideas running through my head . . . ) and be sure to check out the Ellen Hutson Instagram Hop for more inspiration and give some comment love to all the contributing designers for a chance to win in the giveaway!
Thanks for stopping by today—if you have time to comment below, I’d love to know which of the products speak to your card-makin’ soul! Also, if you have any questions about these samples, feel free to ask in the comments!
Disclosure: I include affiliate links to the products used in my projects and make a small commission when you purchase via those links, at no extra dimes to you. 🙂 Thank you for buying all the things!
SUPPLIES:
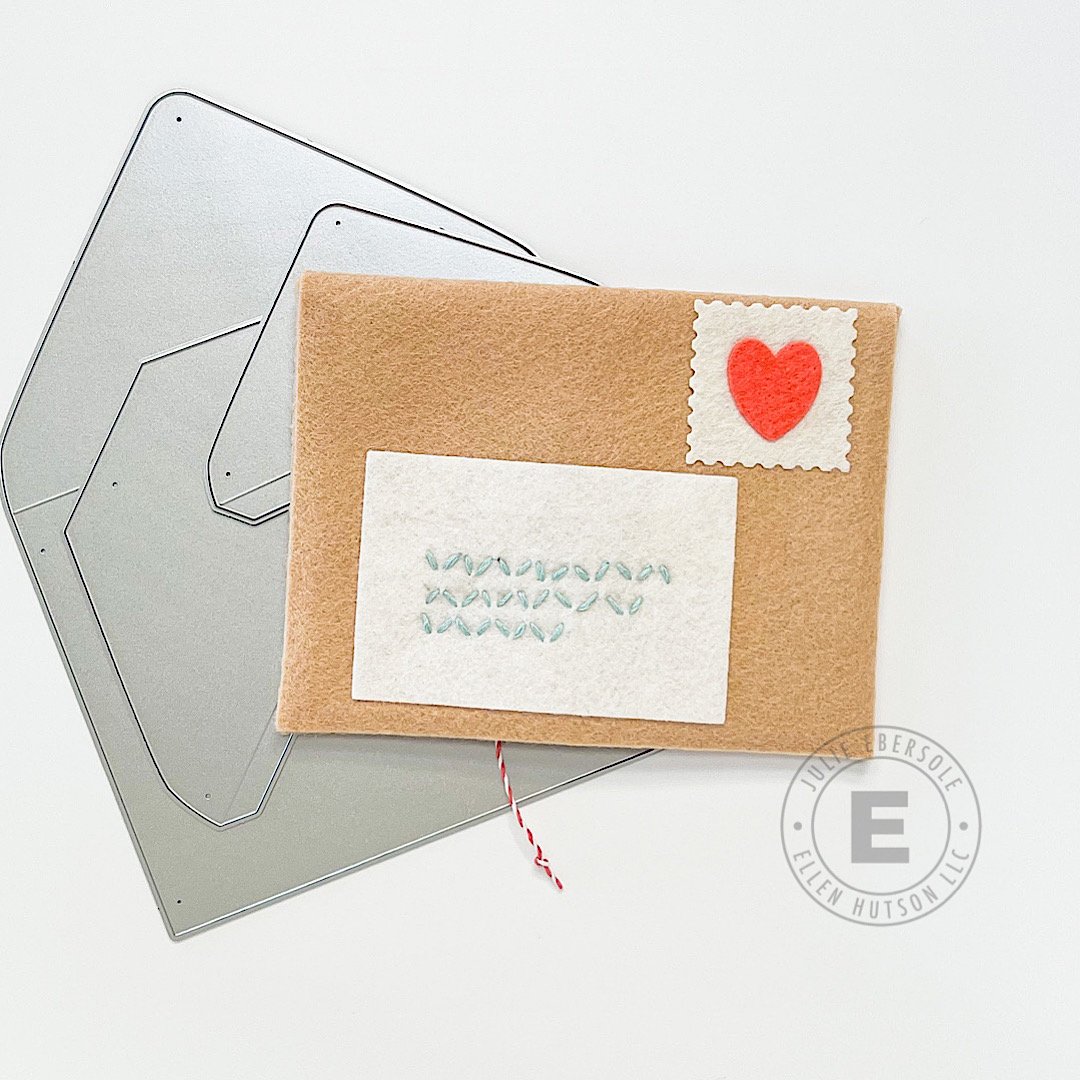
Happy Mail Die - EH
Envelope Slider Dies - EH
Catherine Pooler Do-si-do Ink - EH
Catherine Pooler Samba Ink - EH
Catherine Pooler Suede Shoes Ink - EH
Catherine Pooler Wintergreen Ink - EH
Catherine Pooler Dress Blues Ink - EH
Versamark Ink - EH
Detail White Embossing Powder - EH
Versafine Nocturne Ink - EH
Clear Embossing Powder - EH
Dual Temp Heat Embossing Tool - EH
Zig Clean Color Real Brush Markers (used for watercolor) - EH
Canson XL Watercolor Paper - EH
Concord & 9th Sorbet Card Stock - EH
Concord & 9th Midnight Card Stock - EH
Neenah Solar White 80# Card Stock - EH
Kraft Card Stock - EH
Dune Wool Felt - EH
Winter White Wool Felt - EH
Coral Wool Felt - EH
Very Light Turquoise Embroidery Floss - EH
Peel n’ Stick Fabric Fuse - EH
Gemini Jr. - EH
Spellbinders Platinum 6 - EH